How to Develop a Blog Content Calendar (Templates and Software)

Success with a business or a blog requires patience, planning, and organization. It's that last one that catches so many people off-guard. Understanding the big picture and finding out how much goes on behind the scenes in running a blog can be highly overwhelming.
Sure, you can dive into it and figure things out as you go. Still, if you aren't willing to build a structure, you're going to end up spending far more time sorting through notes and building folders of scattered documents than you are running, optimizing, and improving your site.
A core part of running a blog is the content calendar. A content calendar allows you to plan out the future of your blog, but it requires a bit of organization to build. That's what I'm hoping to help you with today; creating that calendar.
There are essentially two parts to building a content calendar. The first is the framework, the template, platform, or software you use to create your calendar. The second is the planning; what information you put into your calendar and how you format it to make it worthwhile. I'll try to cover both of these bases.
Let's start with some software and apps that you can try out!
Content Calendar Templates, Software, and Apps
Content calendars run a vast gamut of different forms. I've seen people with highly complex and interconnected pieces of software pulling data from APIs, serving up analytics, managing user roles to let a whole team access it, and more. I've also seen people who use a table made in a Word document and hit "save as" every month to replicate. What's the best? Well, whatever works for you.
1. HubSpot's Content Calendar Spreadsheet is a spreadsheet template made to work with MS Excel, Google Sheets, or Google Calendar. It's pretty simple; it has columns for publication date, "due date" for when the content needs to be done, the author (if you have multiple authors), topic/title, brief, keywords, target user personas, and the CTA.
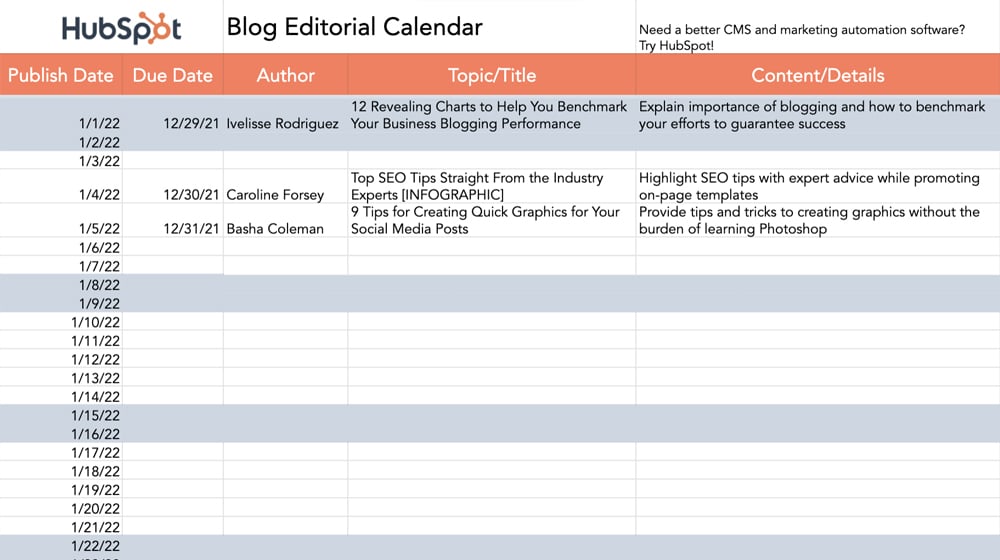
All of that is pretty detailed for marketing and is unnecessary for a good portion of blogs out there. That said, if it encourages you to take the next step and start caring about some of those things (like user intent and buyer personas), then it's a great idea to use it. Plus, of course, these are free templates, though HubSpot will ask for your information to add to their newsletter.
2. SmartSheet's Templates – These are a series of spreadsheet templates for bloggers and calendar tracking. They're similar to HubSpot's calendars, except they're tailored to specific kinds of blogs, like a food blog. They're also generally more colorful, though that may or may not be helpful to you. I like to customize my sheets' colors and even add contextual color-coding to judge numeric values.
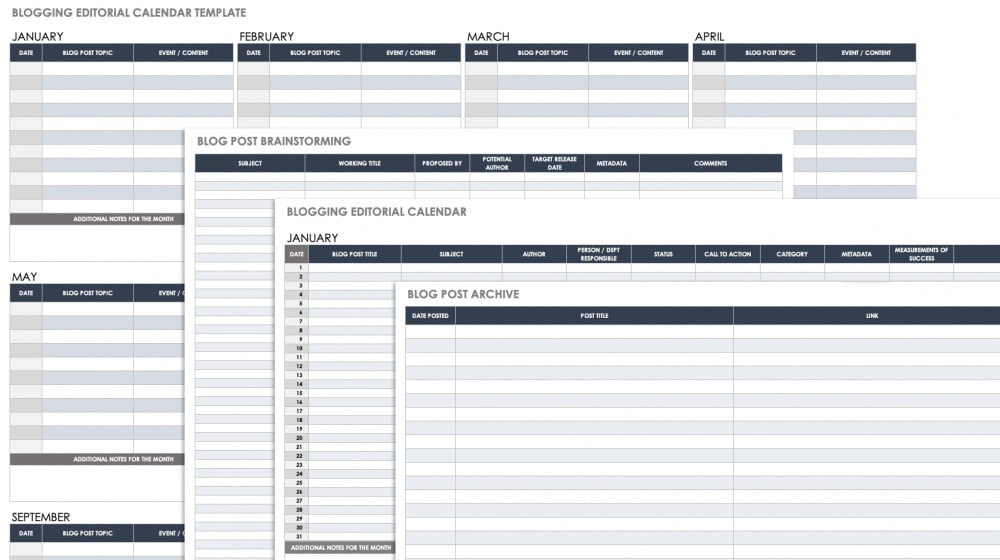
It takes a little coding, but hey, I'm a coder at heart. If you're set on using an editorial calendar template, start with HubSpot or SmartSheets. If you're looking for software, read on.
3. Google Drive – I doubt I needed to link to Google Drive. You all know it; it's a cloud storage app where you can share and collaborate with other team members working on the files in the drive. I use it heavily to keep everything organized and circulated between my writers, graphic designers, publishers, and Dropbox for similar reasons. Google Drive includes Google Docs (similar to Microsoft Word) for linking content briefs or entire articles. Google Sheets (similar to Microsoft Excel) can help you create spreadsheets with due dates, to-do items, and whatever else your heart desires.
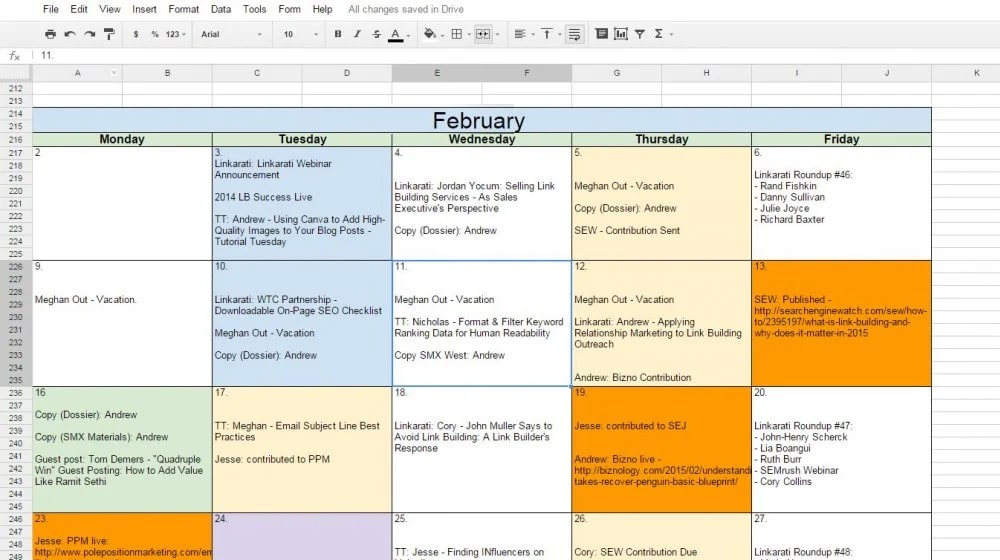
Probably the biggest drawback of Google Drive is just how open-ended it is. It's not a blog editorial calendar. It's not a spreadsheet app, and it's not a Kanban board; it's just a cloud storage platform. The most significant advantage is that it's a cloud platform; you can share access with multiple members of your team and keep it updated throughout the week. I've worked at several large agencies that relied on Google Drive for their content calendar. Let that sink in for a bit.
You can build anything you want on it, on its own, or using automation engines like Zapier as well. It's incredibly flexible and customizable, but you have to put in the work to set it up in a way that works for you.
4. Evernote is the gold standard for cross-platform note-taking and collaboration, at least for low cost and small teams. It's mighty and very flexible, and it works across different devices since it's app and cloud-based. It's not entirely as free-form as just using cloud storage and your documents, but it's almost there.
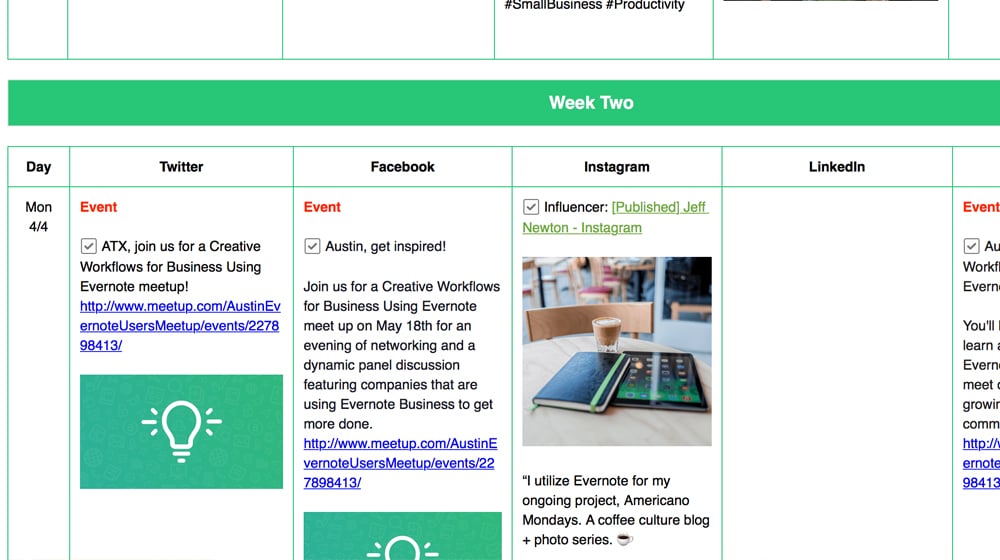
The only downside is getting used to using it. I haven't quite gotten there, so I stick with what I know.
5. Loomly – Remember how I mentioned those fancy apps with calendars, analytics, collaboration, and more? This app is one of them.
Loomly is extremely powerful and fully featured. It does everything from aggregates RSS feeds for inspiration to give you a calendar view of your current, past, and upcoming blog content to providing analytics for what you've already published and what's still scheduled. You can work with teams, add integrations with other platforms, and a whole lot more.
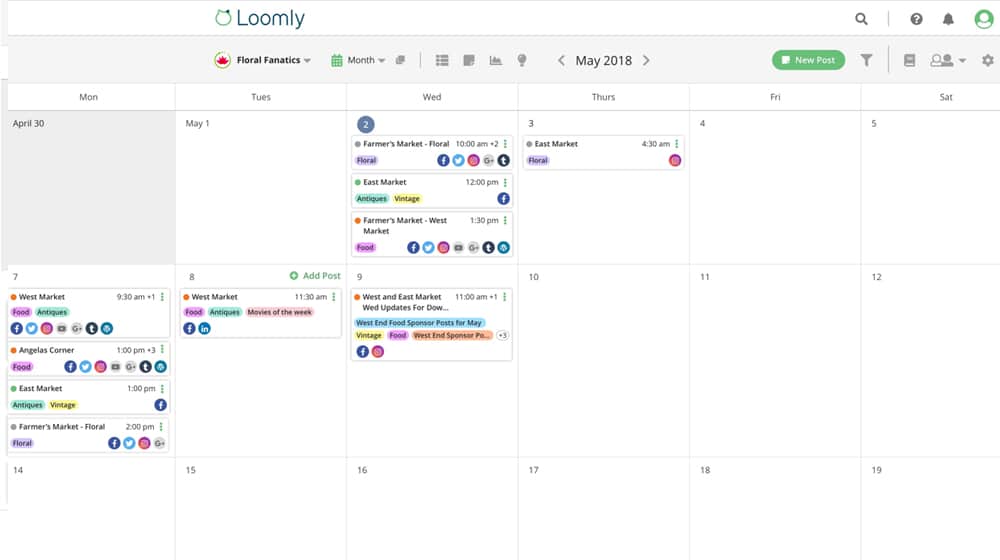
Loomly is overkill for many small businesses but might be what the doctor ordered for mid-sized organizations. This calendar tool does cost money, though, starting at $26 per month and rising to hundreds of bucks for higher caps on features and additional functionality.
6. AgoraPulse – Designed to be an agency-level collaboration and planning tool, this one has just about everything you could want for anywhere from individual users to large enterprise teams. Honestly, I don't even know where to begin. There's so much going on with their platform that it almost dazzles me.
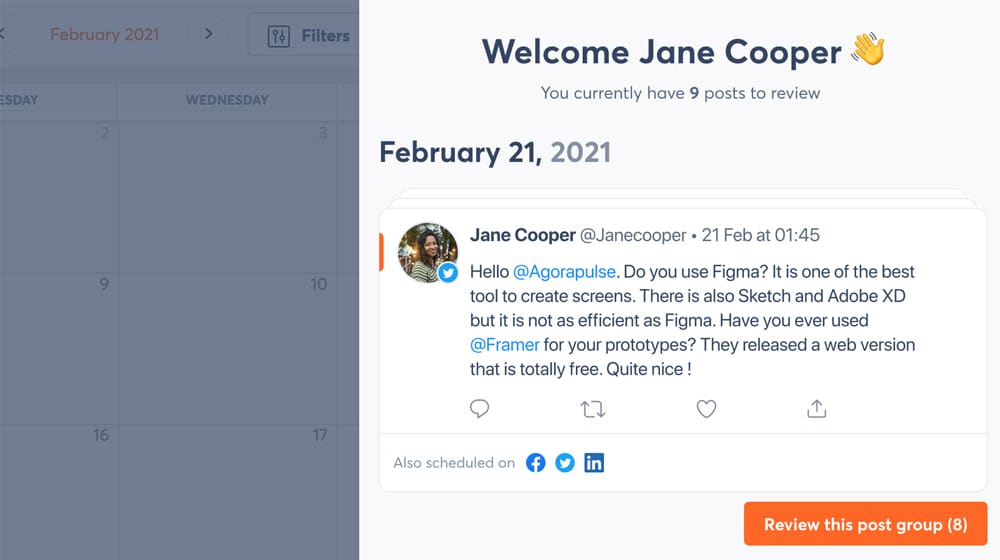
It's probably one of the most robust and valuable options out there. The only drawback is how limited the free and cheap plans are. For content management, it's compelling, and it syncs with your social media content to plan and schedule your social media posts.
7. Trello – Another option I mentioned was the Kanban board. Kanban boards are essentially a calendar-style view for to-do lists as a way to help everyone on your team (or even just you) keep things organized and prioritized.
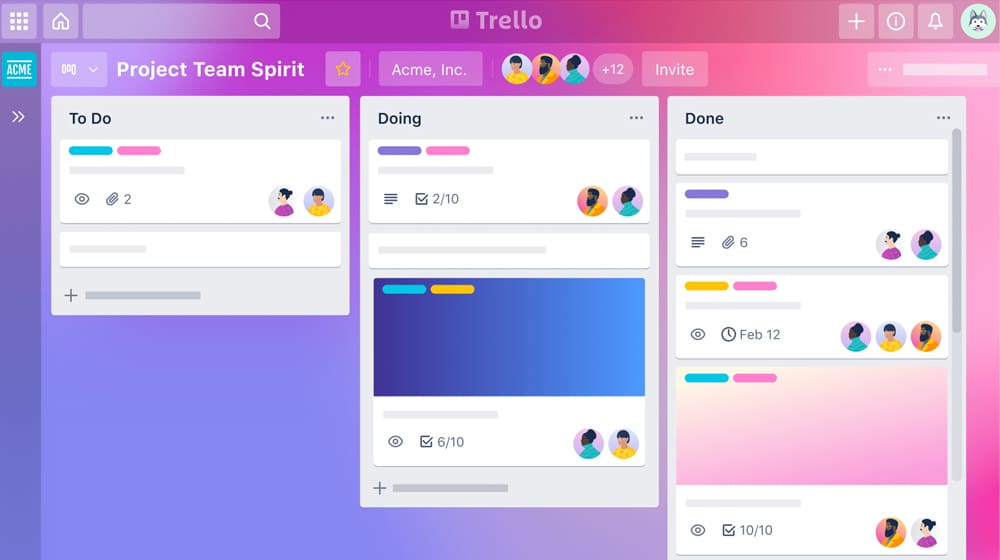
Some of them are glorified cork boards and sticky notes, while others have many additional business features added in.
8. CoSchedule – CoSchedule is primarily a calendar tool. It supports multiple team members and to-do list items so that you can have your graphic designers, editors, and writers check off items as the due date approaches. You can quickly see what content is scheduled and which step is running behind. CoSchedule is designed for teams and is priced at $29/mo per user.
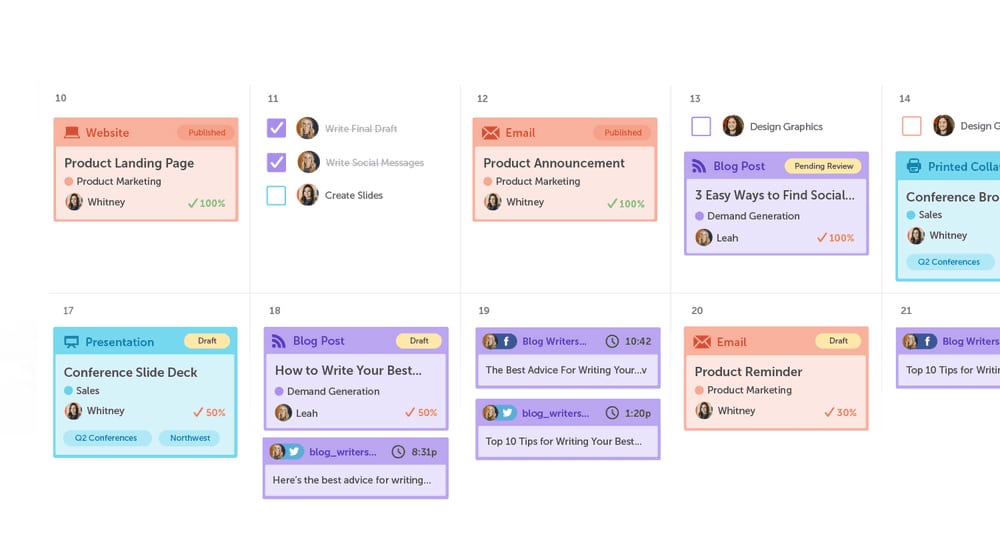
Trello is an excellent version of this concept for small and mid-sized businesses. It can be perfectly functional to use alone or with a team, and it has plenty of organization and collaboration features to help make your content production process much smoother.
These are all just a handful of possible options. Every one of them represents a whole swath of choices and alternatives; I'm just giving you an idea of what's out there. I highly encourage you to think about what features and frameworks you want, then pick something that offers that level of control.
To help you, here are a few questions you can ask yourself.
- Do you want something customized specifically to your workflow, or are you open to adjusting your workflow to fit a platform?
- How much detail do you want in your tasks/posts/records?
- Do you want to be the only one using the platform, or will your whole team have access?
- Do you have a budget for the organization and functionality, or do you want to stick to free tools?
Think about those, and you'll be able to choose from among the different kinds of platforms.
Using a Content Calendar Effectively
It's not enough to say, "alright, I'm going to use Google Drive/Trello/Loomly to create a content marketing calendar." No, it would be best if you had some idea of what you're doing with it. Otherwise, it's more busy work and record-keeping than planning and efficiency.
So, what do you do? Here's what I've found useful.
Build a Framework
The first thing to determine is how frequently you're posting to your blog. This process means deciding which days you want to populate with content for a calendar. If you publish once a week, that's easy. If you post once a day, that's easy.
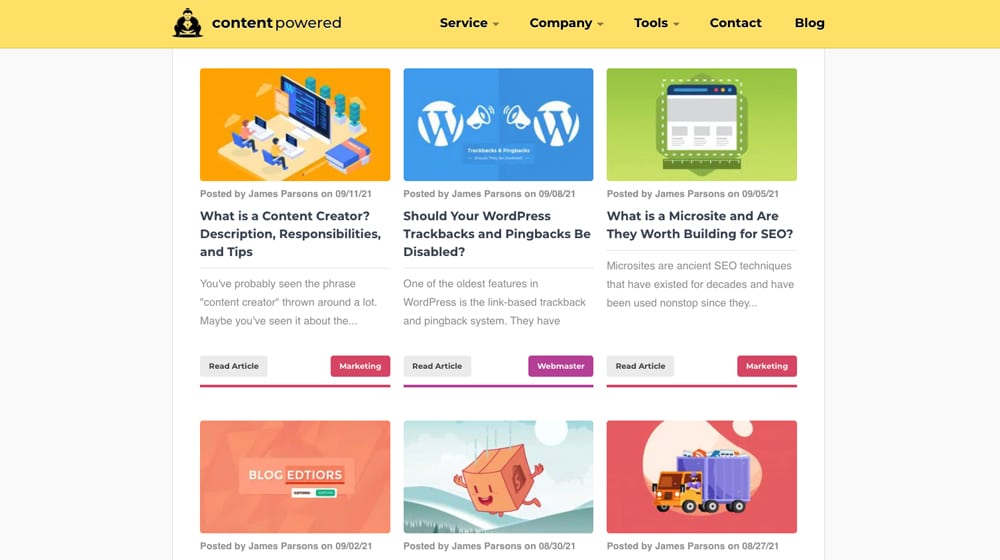
If you publish two or three times a week, you have to decide which days. You can shuffle them around to determine which days get the best engagement, but generally, you want to pick something and stick with it.
Plan Your Workflow Backwards
Everything in your content development pipeline leads up to the date of publication. So, work backward to develop that process and set fixed dates for each step of the way. For example, you might have:
- Publication Date (PD): Final review, optimize, publish date.
- PD - 2 days: Deadline for the finished piece uploaded to the CMS and scheduled.
- PD - 4 days: Deadline for graphic design to be submitted.
- PD - 6 days: Deadline for editing of the finished text.
- PD - 7 days: Deadline for the finished draft of the text.
- PD - 14 days: Deadline for selecting the topic for upcoming content.
Thus, working forward, you would have a date where you pick which topic to cover next and send it to your writers, who have a week to write it. Editors then review it and send it to graphic design, who spend a couple of days creating images for the piece of content and sending it back. Then it's uploaded and refined, given a final polish, and scheduled for publication.
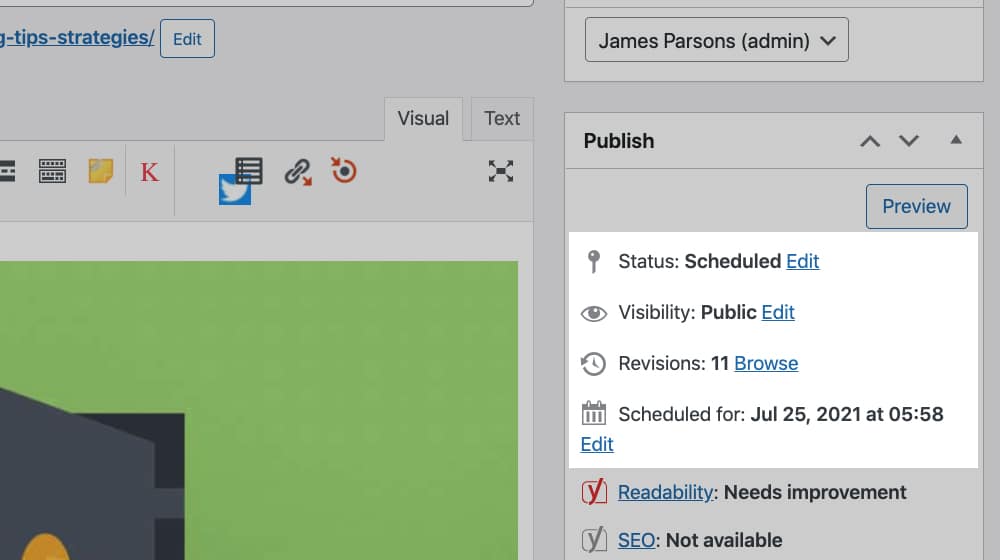
Everyone's project management process will look different. Maybe your writers don't need a whole week to work on the post, or perhaps they need more. Perhaps you want to give your graphic designers more time, or you want to turn your post into a podcast. Perhaps you want more granularity for different contributors. It all comes down to what you want and what works best for your team.
Plan Your Promotion Forwards
Like working backward with your content development pipeline, you can plan post-publication promotion if you want those marketing efforts to be part of your content marketing strategy.
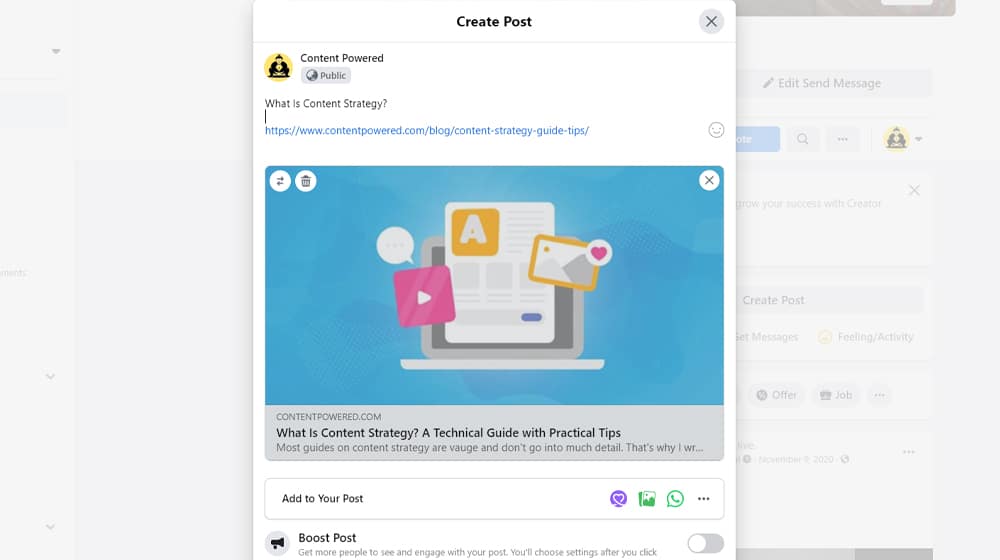
This process might include something like:
- Publication Date (PD): Share to Facebook, Twitter, Instagram.
- PD + 1: Re-share on Twitter, post on Pinterest.
- PD + 2: Re-share on Facebook, Twitter, Instagram.
- PD + 5: Re-share on Facebook, Twitter. Syndicate to LinkedIn, Medium.
- PD + 7: etc.
This process depends on your content strategy and promotion, what social media networks you use, how often you can support posting to them with your audience, and more. You may also not plan out any of this in a calendar and instead set up Zapier rules to automatically handle it. Again, it's flexible.
Flag Special Days
A calendar is a great way to set up an ongoing, perpetual framework. That framework should be flexible, however, to accommodate changes and additions. For example, maybe you want to:
- Publish unique content on the anniversary of your founding.
- Publish unique content on specific holidays or leading up to them.
- Re-share certain types of content in the lead-up to particular days.
Ideally, your calendar will make it easy to shuffle things around, add additional days, and plan for special events and occasions. The biggest strength of a content calendar is planning everything not just days but months in advance.
Create Archives and Records
A significant strength of the content calendar is setting up record-keeping.
How many different apps, documents, and notepads do you use when performing topic research and brainstorming to keep track of it all? Do you keep all of that data in a spreadsheet?
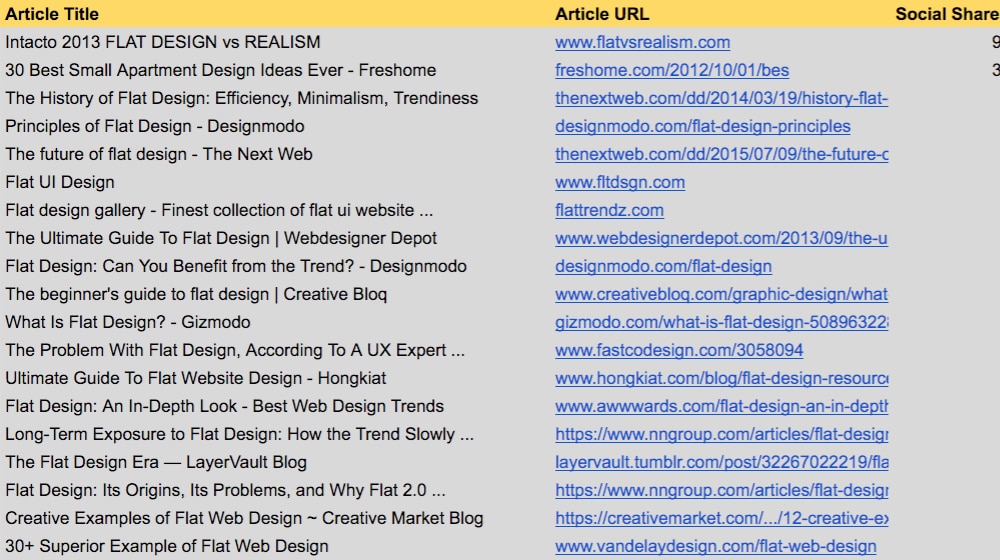
What about when you choose a topic and write about it. Do you have a column in your spreadsheet for "used, y/n"? Do you then record that somewhere? You should.
I like using Google Drive with a series of spreadsheets for organization and record-keeping. You can connect it to Zapier and pull in SEO data from just about any app that you can think of. I can track everything with data pulled from apps like Google Analytics and see at a glance how different content performs, which content ideas I've used and how well they worked, and so on. It's a lot of valuable data to keep on hand.
Use It
The key to any planning tool is using it. If you don't get everyone on the same page (whether "everyone" means your whole team or just all of your brain cells) and using the same tools, you're going to find them ineffective.
When I first started, I did most of my planning in a few spreadsheets and a lot of memory. It was hilariously inefficient, and once I began to use fundamental planning tools, things got a lot smoother. Your content planning will become more streamlined, your content creation will become more efficient, and your marketing team will thank you.




January 17, 2022
I've always relied on Google Drive - it's simple, accessible, and very open to collaboration. Seeing this, however, Loomly seems promising. I think I'll check it out if it's worth it.
January 19, 2022
Thanks Lauren! Glad I could help. Google Drive is fantastic, I use it for everything.
December 21, 2022
Thank you for this! You’d think Google would be obvious and yet, I missed it, ha. I appreciate your thoughts.
December 23, 2022
Haha! No worries, you're very welcome!