How to Submit Your Blog Posts to Other Sites (The Right Way)

There are two schools of thought for submitting your content to other sites.
The first is to submit content you've already written. In freelancing, this is called workinfg on spec; you're speculating that someone will be interested in your creations. The opposite is working on commission; you're pitching your talents rather than your content, and someone orders custom work from you.
There are two options for spec work; you've already published the content, or you still need to.
If you've already published it, it's either called syndication or repurposing. When you haven't, it's just guest blogging; you offer up that unique piece of blog content to another site, and they publish it, and no one else gets to publish it.
- Syndication is a whole world of special considerations, and I go into greater detail in this post.
- Repurposing is also a different marketing strategy entirely, which I've covered a bit in this article.
Different marketers have different preferences for how they will pitch their content. Some write a bunch of content and blast pitches to as many sites as possible, shooting for maximum efficiency for their own time and effort. Others prefer a more personal touch and more relationship-building.
I'm in the second camp; I've always been a quality-over-quantity person. I'd rather spend six months interviewing to write for Entrepreneur.com instead of bothering thousands of small businesses and blowing up their inboxes with spam and email marketing messages.
So, how can you submit your new blog post to other sites? How can you maximize their chances of picking it up and running with it? Here's an effective process you can use.
Step 1: Develop a Template and Media Kit
You first need to lay the groundwork for outreach and guest posting; this can be broken down into three parts.
A. Your Media Kit Page
The media kit page is a webpage on your site that contains information about you that is relevant to people considering publishing your content. It's helpful to anyone you send a pitch to, so they can read more about you, but it's also valuable for anyone who comes to you looking for content.

What should this page include?
- An About You section. This section is similar to your usual About page but more focused on the digital marketing perspective; who you are that other blogs would care about, why you're an authority, and so on.
- A Media section. This part will generally include some brand guidelines and resources for anyone looking to make content about you or use your media in their content.
- Information about pitching a collaboration with you. How can the website reach out if they want to guest post for you? If they would like to invite you to post for them instead, how can they get ahold of you?
If they want to work with you on a project, are you available to contact them?
This page is essential as both a visible page people can find on your site and a link you include in your pitch emails. Still, it's explicitly aimed at collaborators, bloggers, and content creators rather than your target audience.
B. Your Email Templates
The second thing to generate is an email template or a series of email templates. These save you a little bit of time when you're drafting your contact emails, by formatting a greeting, including your relevant links (to your blog page, your social media, your media kit, and so on) and any standardized terms you prefer for your outreach. For the most part, you want to be flexible with your deals with other blogs, but if you have specific lines you don't want to cross, you can include them there.
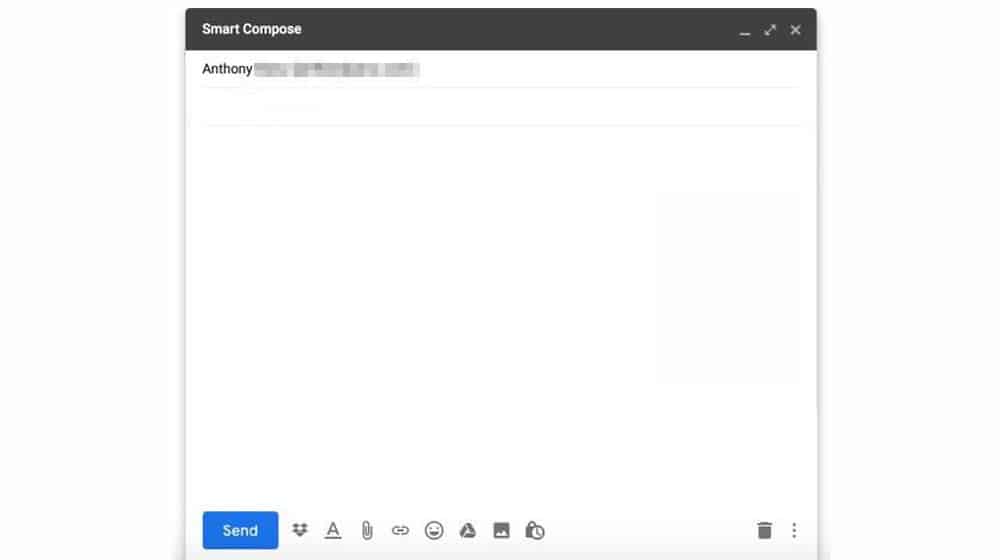
For example, if you're not willing to pay for a sponsored post, you can have that in your template.
C. Your Profile and Byline
This section is a small paragraph; it's everything you would include in your blog post byline box.
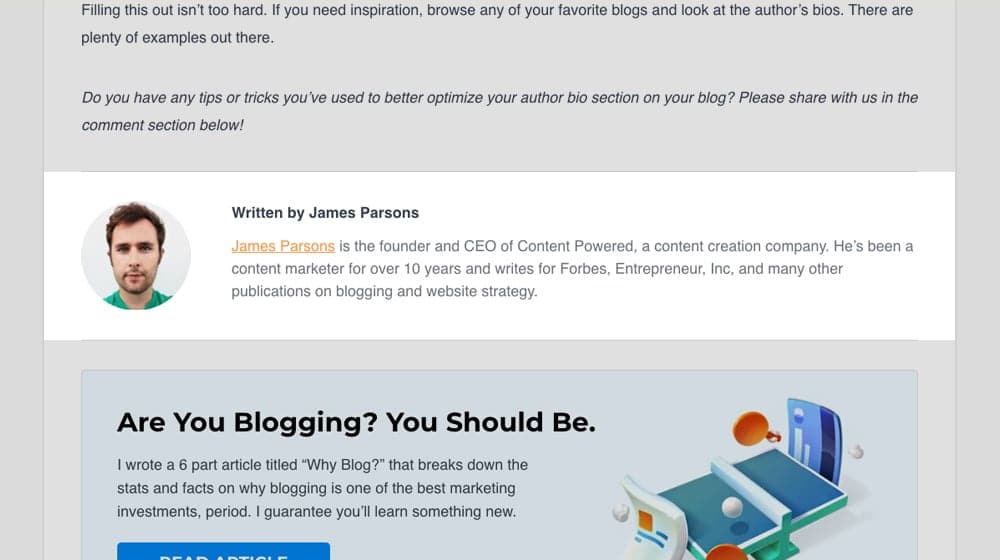
For example:
- Your name, formatted the way you want.
- A short profile of who you are and where readers can find you.
- An image you use as your headshot or avatar.
You can also include this in your media kit, but it is essential to have it on hand for anyone who needs it.
Step 2: Build a Target Site List
Your next step is to build up a list of sites on which you would like your content to be published. You want as extensive a list as possible and then qualify that list by adding various categories.
I like to build out a spreadsheet with columns for:
- Site Name
- Site URL
- URL of Contributions Page
- URL of Guidelines page
- Name of Author or Owner
- Names of Editors or Relevant Individuals
- How to Contact the Site Owner
- Core Topics
- Whether or Not They Accept Guest Contributions
- If They Allow Links and The Link Status
- Perceived Difficulty of Acceptance
- Previous Acceptances and Their URLs
Some of this information is useful for building your pitch emails. For example, you want to know who you're addressing and how to reach them.
The rest is information about how difficult it is likely to be to pitch and get a guest contribution accepted. Some sites are happy to take up guest contributions to ease their burden of creating content. Others rarely accept contributions, and some just never do.
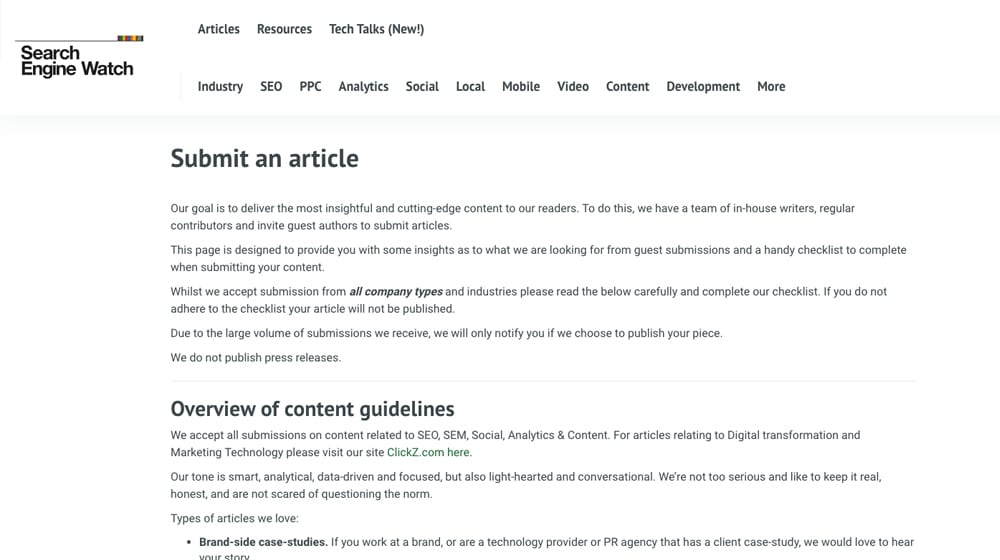
The "perceived difficulty" is simply an estimate in your judgment of how likely a site owner is to accept your pitch. You may or may not be correct with your guess, and the information might not be helpful, but you can use info from their contributions page to help refine this thought.
Customize this as you see fit. If the information seems helpful but I didn't list it, feel free to add it; conversely, if something I listed doesn't seem beneficial to you, don't worry about it. You can always add or remove data later, too.
Step 3: Identify Realistic Opportunities
Now that you have a massive list of sites you've harvested data for, it's time to figure out which ones are most likely to accept your content ideas.
I recommend only picking 2-3 at a time, or even just one; you don't want to send out 20 pitches, have ten accept, and now you're on the hook for writing ten new pieces of content by the end of the week. Right?
There's an art to this. You want to pick target sites that can benefit you, so you don't want to pitch to a website with only a few dozen hits per month. They might be more than happy to accept, but that published content won't really help you as much as a site with an audience. Conversely, you may not want to necessarily spend your time pitching content to massive sites like Forbes when there's a minimal chance they'll give you the time of day. You want to find the right balance; this can be hard, and you might get it wrong! If someone rejects you, note it and move on.

Don't waste time on fruitless pursuits.
Step 4: Research What the Site Wants
Your next step is researching anything you can about the specific site you're targeting.
Do they have a contributions page, a "write for us" page or anything of the sort? If so, read through it several times and make sure you're familiar with their process. For example:
- Some sites want their pitches delivered via a contact form, while others want an email.
- Some want the pitch in the body of an email; others prefer an attached document. Some will refuse anything with an attachment just out of security concerns.
- Some explicitly state that they don't accept unsolicited pitches.
- Some prefer pre-written content they can decide to publish; others want pitches that can adapt to their needs.
- Some pay, some don't, and some even charge a fee.
- Some will ask for their own contribution to your site in return. Some want links back and forth.
All of this helps you develop your pitch.
The other thing you should look into is what, precisely, the site tends to publish. It helps to understand what kind of content the website publishes (in general) and what content has been published in the past few weeks or months.

You want something you can consider yourself an expert on so your contributions are high-quality and relevant. You also want something in the minds of the site owners and readers that can resonate and be popular.
Step 5: Customize the Template for Your Pitch
Let's go back to step one, where you developed an email template for your outreach. Now, take what you've learned about the specific site and customize this template for them.
- Personalize it. Don't address it to Site Owner or To Whom It May Concern; address it to the person you're reaching with your email.
- Follow every guideline they give you to the letter. Anything they can use to say you didn't follow instructions is a reason for rejection.
- Don't be too formal, overbearing, or high-pressure. You're offering an opportunity, pitching yourself and your skills, and letting them make the decision.
- Include links to 2-3 relevant pieces of content you've written before, both on your site and other sites you've contributed to (if you have them).
You want examples of what you do.
Above all else, don't waste space or time in your email. I listed a lot, but you still want this to be no more than 3-4 paragraphs from top to bottom. If they're interested, they can start a dialogue, and you can provide more information. Long emails get ignored; short and personal emails get read.
Remember, these site owners are busy and probably get dozens of pitches and spam emails weekly, so you must respect their time while still standing out.

It's a tricky line to walk!
Step 6: Send a Pitch Email or Contact
Finally, it's time to send out your email or submit your contact form. It's taken a long time to get here, and it has, but a lot of what you've done is the groundwork you won't need to do again. That template will serve you well with minor adjustments over time. Likewise, that spreadsheet will be an invaluable resource.
Sending your pitch email is a nerve-wracking process the first few times.
My biggest tip is to proofread the email several times before sending it to ensure it includes everything you want it to with minimal errors. Refrain from second-guessing yourself too much, or you'll never hit send, or worse, you'll type up a massive email that will get ignored.

Remember, you miss 100% of the shots you don't take. I think Michael Scott said that one.
Step 6a: Follow Up if You Don't Receive a Response
Set yourself a timeline.
If you are still waiting to receive a response within a week, send a follow-up. It doesn't need to be detailed; just a simple:
"Hey, I just wanted to make sure you didn't miss my email. If you're not up for a contribution, that's fine! Just let me know."
It's generally helpful to include the bulk of the same information in the follow-up so they don't have to hunt down your previous email to see what you're even talking about.
How many times should you follow up? This one is a tricky question to answer. Some people say no more than twice. Others say as many as four or five times.
Honestly? It depends on the site owner. Some people are very busy, have full inboxes, and might need four or five follow-ups before they notice your pitch. I've personally had to follow-up half a dozen times with large sites like Business Insider. Others might get irritated at even a second follow-up and block you entirely. Unfortunately, there's no way to tell ahead of time. Use your best judgement.
Step 7: Create Unique, High-Quality Content
Congratulations! Your pitch has been accepted! Now the real work begins.
It's time to live up to your promises and create high-quality content focused on the subject of choice, with the right perspectives, tone, and conclusions to match the site you're contributing to while subtly promoting your thought leadership.
These articles are some of the trickiest content pieces you'll ever write because they need to be distinctly yours, but they also need to fit with the site's target audience, which means they may be slightly (or broadly) outside of your comfort zone. If you've pitched right, you'll find it easy to write because it's a topic in your wheelhouse. If not, you may have your work cut out for you.
Feel free to send a draft and ask for any feedback or edits they would prefer. This piece of content is an article for their site, after all, so it needs to be satisfying to them.
It would help if you also worked to optimize your post for SEO. It would be best if you include internal links to other blog posts on their site and valuable and relevant external links to trustworthy websites to back up your facts and claims.
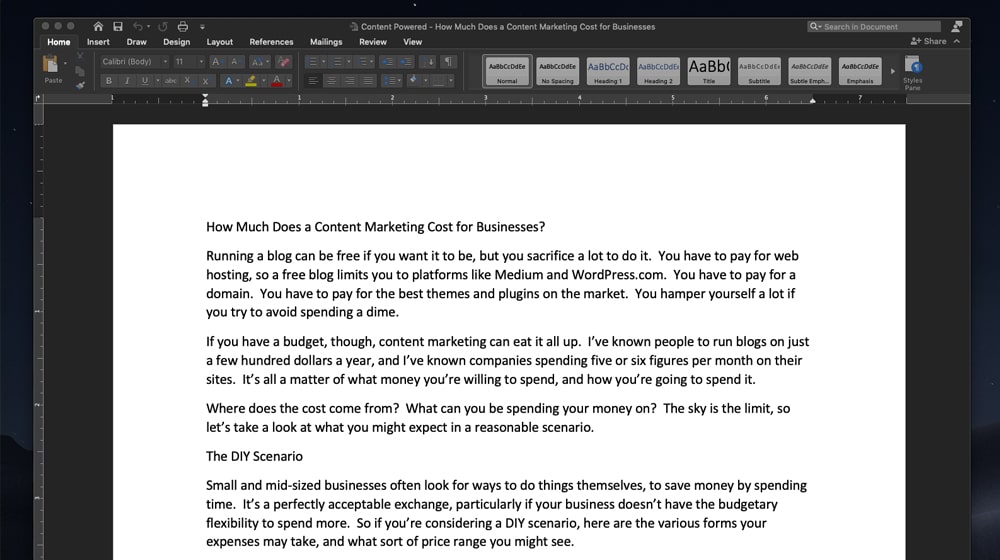
Most of these steps are probably included in the website's guidelines, but if they're not, it's wise to do them anyway.
If your post is optimized for search engines and is loaded with screenshots, headings, and internal links, and others are not, it may just help your great content stand out.
Step 8: Promote the Content They Publish
Once your content has been accepted and published, you need to make it worth their while. That means promoting it.

I recommend:
- Linking to the content in your next blog post. All it takes is a line in your next post saying, "By the way, I wrote a post about exactly this for Blog Name Here; go check it out!" The better your guest contribution performs, the more likely you will have additional opportunities later.
- Share the post on your social media at least once and possibly more than once. An initial and an "In Case You Missed It" share is the bare minimum.
- Include a link in your email newsletter. Assuming, of course, that you have an email newsletter.
There are other methods you can use if you want, but they all depend on how deeply you want to promote content on another site. You want the post to perform well, but you want to stay moderate with it.
Recommended: Passive Approaches
Promoting a blog post can be tough. Many people get lots of similar emails every day. For instance, I get 50-100 such emails daily and usually ignore them. Asking businesses to do you a favor through email is hard, especially if they don't know you.
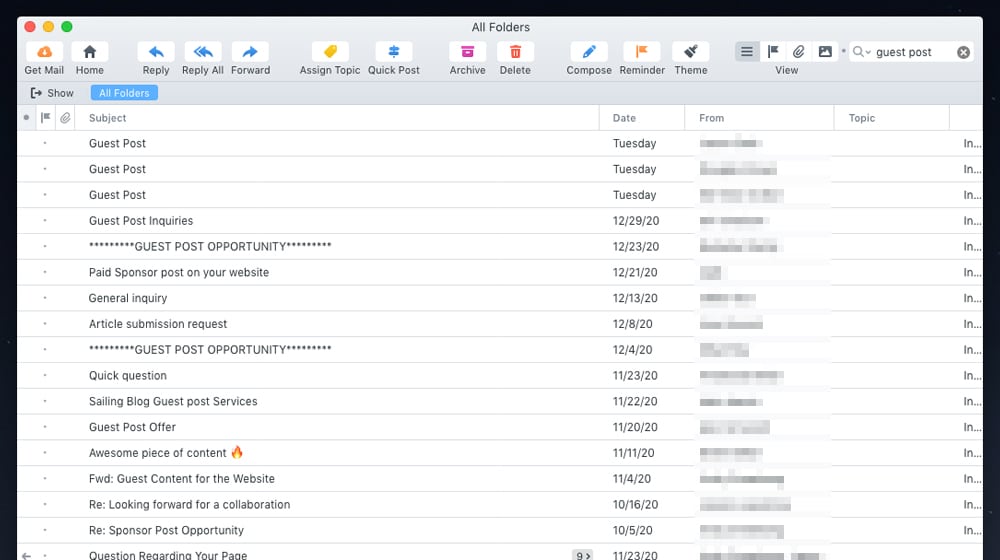
But it doesn't mean it's impossible. If it was, people wouldn't try it. But it's not easy either. Maybe only 1 in 1,000 emails will get a positive response. Most will ignore you, mark your email as spam, or sometimes even reply angrily.
Why, then, do people try this? It's because if you send out enough emails, you might get some positive responses. For example, if you send 100,000 emails, you could get 50 or 100 links.
But is it worth it? Doing this could get your email marked as spam or even get you reported to your email provider.
In my view, sending lots of emails isn't the best way. Instead, I suggest:
- Guest blogging: Writing for other websites helps make your own site more popular. You give them good content, and in return, more people learn about you and your website.
- SEO: If you write great content, Google will notice, and you'll start getting visitors naturally. This takes time and hard work, but it pays off.
- Social media: If you have a lot of followers, they will see your new content. Like SEO, this also takes time, but it's worth it in the end.
Using a mix of different methods can also work well. For example, if you want to promote an infographic, you might need to reach out to people to get started. Try different things and be patient. It can take 1-2 years for a new blog to take off, and many people quit too early.
Did this guide help you? I love hearing from you all. Do you have any questions? Either way, let me know in the comments.


April 01, 2024
Thank you for Sharing!!
April 15, 2024
Hey Anusha, you're very welcome! What has been your favorite method so far for submitting your blog posts?