Tutorial: How Bloggers Can Use Pinterest to Drive More Traffic
Pinterest is an odd duck in the world of social media and marketing.
On the one hand, it's one of the largest social networks out there. It is a popular social site for moms, crafty and DIY-style content, recipes, decor, photography, and other topics. Millions of people use it as an inspiration board to gather resources or curate content they think their Pinterest followers would like to see.
On the other hand, they also scrape a ton of content, aggregate images under one banner, and have a considerable reputation for SEO hacks and underhanded practices. They wouldn't be nearly as prominent as they are today if not for these hacks, and those make them significantly less valuable for many people. Plus, there are usability issues.
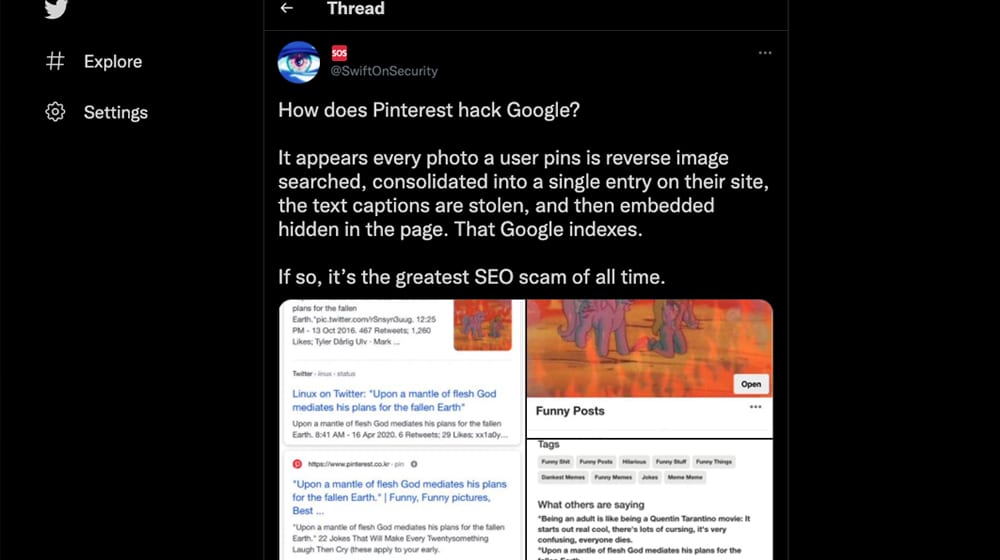
If you've ever tried to find the source of an image or a post on Pinterest, you know sometimes it's difficult or impossible. They want to keep people on Pinterest, not ferry traffic and page views off the site.
So, it is with trepidation that I present today's post. Bloggers, you can use Pinterest to drive traffic to your blog, and you don't have to resort to SEO scams to do it. It's just tricky and maybe supports an unethical social network, but then again, what social network isn't crooked these days? At least Pinterest isn't contributing directly to much worse things, like Facebook.
Leaving all of that aside, I've found a good way that you – yes, you, the blogger reading this now – can use Pinterest for your own blog's benefit.
Before we get into some Pinterest marketing tips, first, you should decide if Pinterest is going to be a good marketing strategy for your company.
 30 Second Summary
You can use Pinterest to grow your blog if you have visual content and time to invest in the platform. With over 330 million users, Pinterest works best for niches like home décor, travel, photography, DIY and technology. You'll need to create a business account, claim your website and set up boards for your content. When you make pins, you should use vertical images (2:3 ratio) with your branding and eye-catching designs. To succeed, you have to regularly pin your blog content, join group boards and engage with other users.
Should You Use Pinterest?
So, the primary question many of you probably have is, "should I use Pinterest at all?" After all, running a social media account is a lot of work. It's time-consuming and tedious, it requires manual input daily, and it has to be worthwhile to be worth the effort.
What about sites like Facebook, Twitter, and LinkedIn? Those have defined purposes. Facebook is the largest audience and largest ad network to access. Twitter is excellent for fast-updating posts, direct engagement, and customer service. LinkedIn is great for tech niches, networking, and professional development, not to mention thought leadership. So, what does Pinterest bring to the table?
Most people have this impression that Pinterest is the social network for "mom bloggers and crafters," or for women and children, or whatever other subsection of the global population that fits your boundaries. That's true to a certain extent, and it's an image Pinterest has fostered, but it's much broader than that.
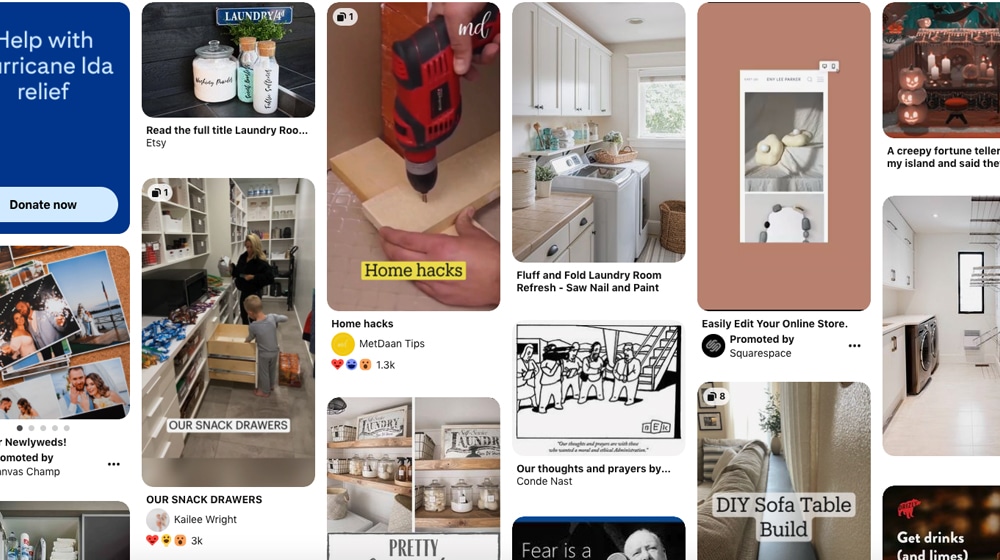
Here are the ten most popular niches on Pinterest, according to Influencer Marketing Hub:
- Home Décor
- Art
- Travel
- Photography
- DIY and Crafts
- Design
- Technology
- Quotes
- Food and Drink
- Humor
You might notice a few things in there, like travel, DIY, design, and technology. They stand out because they're not quite the exact audience you might expect on Pinterest.
The trick is that Pinterest is heavily graphical and photo-based, almost as much as Instagram. That lends itself well to specific niches and not to others. If your site is primarily software tutorials, you might have a more challenging time making compelling graphic designs. If you're a travel blog, it's trivially easy to take high-quality photos to share. That doesn't mean a software tutorial site can't use Pinterest; it just means the minimum barrier to entry is higher.
Is Pinterest right for you? Let's find out.
Here are a few questions to think about:
- Do you want access to an audience of 330+ million users you might not otherwise be able to reach?
- Are you capable of creating a compelling graphical design or paying for someone to make it for you?
- Do you have the extra time to spend on another social network, on a daily or weekly basis?
If you've answered yes to these, then Pinterest can work out for you. On the other hand, if you can't figure out a way to use graphic design to make your topic compelling or don't have the time to invest, Pinterest probably won't do much for you. That said, it's not going away, so if you have a better answer in a year, it will still be there to try out.
So, that leaves one question. How can a blogger make use of Pinterest? Luckily, it's not hard, and it's just different enough from most other social, content, and web marketing that it takes some adjustment.
Register a Business Account
Pinterest requires that any brand that wants to market on its platform use a "Pinterest for Business" account.
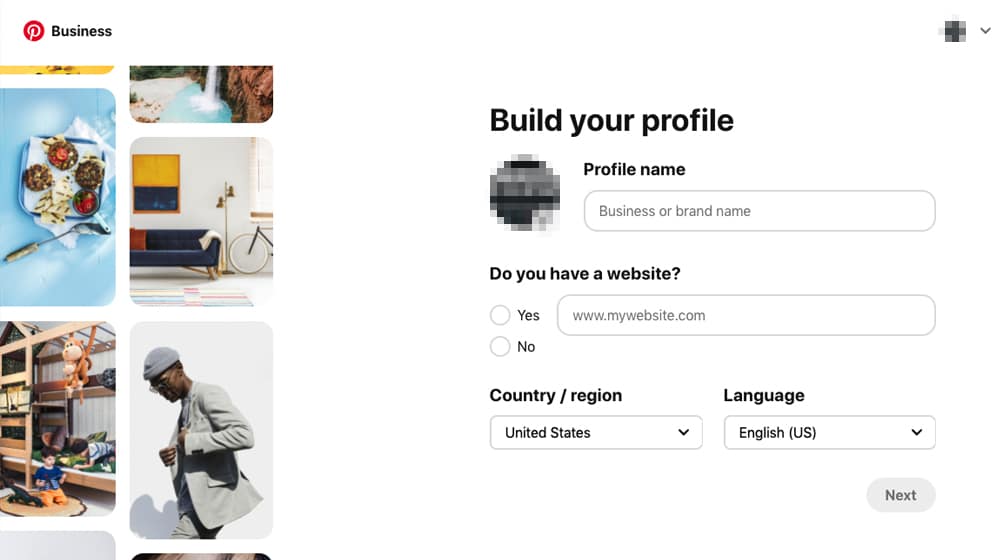
Business accounts are easy enough to set up and use, and they let you do three things you can't do with a personal profile:
- Run ads to promote Pins for a wider audience.
- Claim your website, so you gain attribution for pins of that site for analytics purposes.
- Access analytics for your pins.
And really, why would you want to use a social network if you can't get your data from it?
- If you don't already have a Pinterest account, click this link to create a new business account.
- If you already have a Pinterest account, click this link to convert it into a business account.
Remember, you want a business account for eCommerce website or brand, but if you're running a personal account as well, you want to keep them separate. Well, unless you don't, but I trust you to know if that's the case or not.
Claim Your Website
In your business account's settings, click on the "Claim" heading to claim your website. This process is similar to verifying your site for networks like Facebook or Google Analytics; it lets Pinterest verify that you are who you claim to be and serves as a barrier to prevent other people from claiming your site.
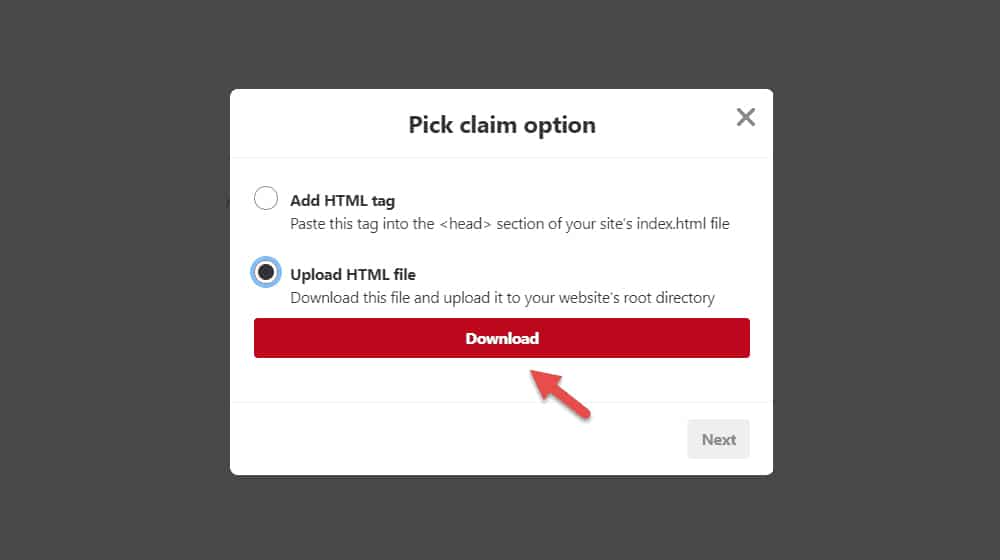
It works the same way as most other verification processes. Pinterest gives you either a file or a string of code. You either put the code on your homepage or upload the file to your server, then tell Pinterest to check. This critical step proves that you have access to the website, which verifies your ownership.
Fill Out Your Profile
Pinterest profiles aren't quite as big a deal as Facebook Pages or Twitter profiles, but they're still necessary to fill out entirely.
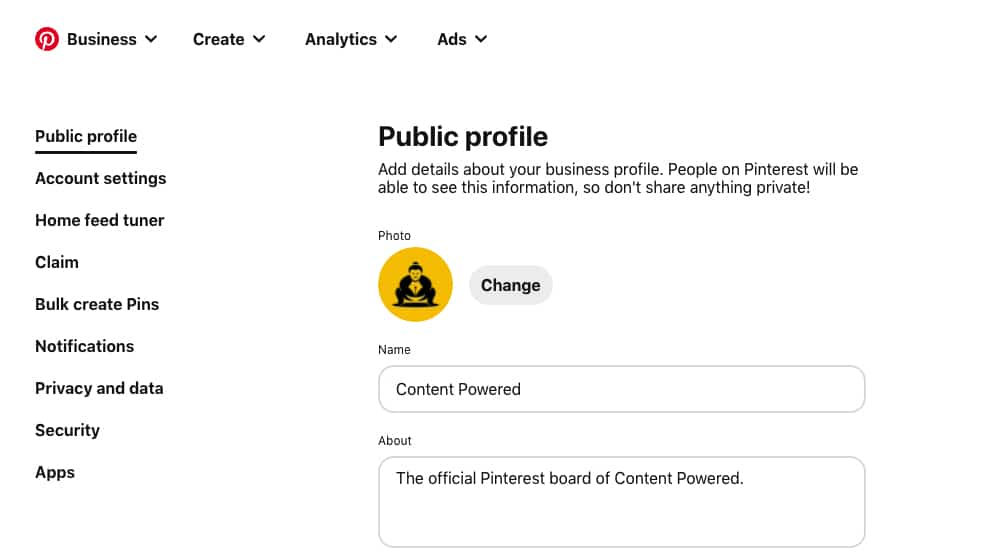
Here's what you want to add:
- A profile picture. A happy photo of your CEO or public representative is the best option, but you might want to use your logo as a business. More importantly, though, use the same picture you use on other social networks.
- Display name. Your display name should be your site or brand's official name. Again, continuity across networks is essential here.
- Your Pinterest username is your URL. Usually, this can be your blog name (mine would be ContentPowered), but you might want a shorter version if you have a longer or less convenient name.
- About Me. Your "About Me" section is your free-form bio, similar to the About section on Facebook. Here's an excellent guide for composing one for a Pinterest audience.
- Location. Your city of residence is fine; you don't need a full address unless you have a physical storefront people can visit.
Filling out everything is part and parcel of setting up a social network, so you should be familiar with the process by now. Just go through the Pinterest settings and settle in.
Set Up Pin Boards
Pin Boards are the primary way an account interacts with the site, especially for a brand. You can think of a board as a sort of niche collection of content. Smaller blogs might want to limit themselves to one board for their blog content. Blogs that publish more frequently or across a more varied set of topics can create more.
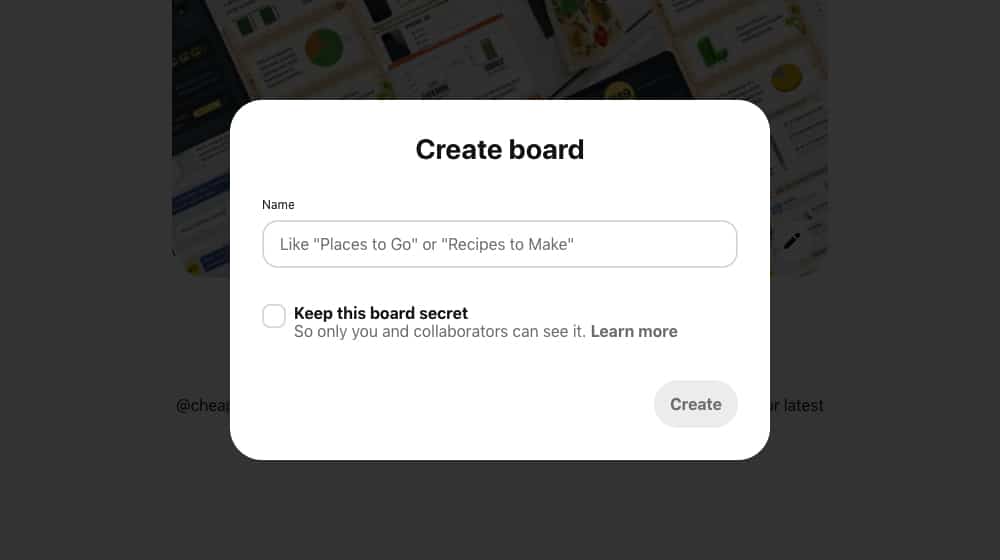
Remember, you can always make more boards later, so you're not locking yourself into a decision here. Do what feels right.
Once you have your core board set up, you can set up additional boards. These should be relevant to your site in terms of keywords, but their purpose will be different. While you can pin your content to them, these will also be hubs for fresh content that you find interesting from other creators.
You want boards for different categories of content. Think of it the same way you might blog categories. For example, I have blog categories for blogging, marketing, PPC, and so on, and each of those can be the board's theme. Then, whenever I publish new content in one of those categories, I can pin or repin that content to the appropriate board.
So, to recap, you will have:
- One core board for your blog and that board only pins your content.
- Optionally, niche sub-topic boards exclusively for your content in a given topic, if your blog is big enough to be publishing content daily.
- You'll want a series of keyword-focused boards where you pin your content and curate content from others on the subject.
Again, you can always add new boards or retire old boards if the general topics you cover change over time.
Configure Boards and Pin Content
Now that you have your boards created, you need to edit and configure them.
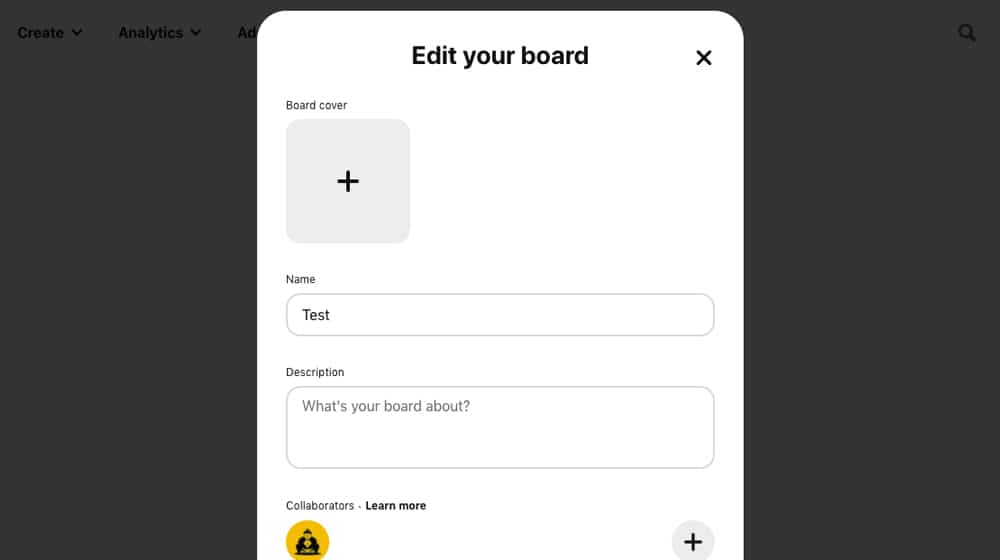
You can edit four significant aspects of each board:
- Board name. This is where you create your board title. If you made a mistake when creating the board, you could then edit it to fix that or change the board keyword or focus.
- Board description. Think search engine meta description here, except your board description is visible to users. Use keywords for your pin description, but write in complete sentences. You can also use hashtags, similar to Twitter and Instagram. This is how other users will find you when using Pinterest search.
- Board category. Choose the most relevant category out of the ones available. Don't worry if it's not too accurate; it's not hugely meaningful compared to the other fields.
- Board image. The image is a particular image you post to showcase the kinds of content on the board. I'll talk more about Pin images later, but for now, you can do something simple like a collage of post images you've made in the past.
You can also arrange and reorder your boards on your profile so that anyone who visits your Pinterest page will see them in an appropriate order. I figure it's best to put your blog feed at the top, followed by your most relevant keywords in descending order.
Pinterest Graphic Design
Now that you have everything on the Pinterest side of things set up, it's time to implement Pinterest-focused graphic design. You've probably been making images for your blog, but they're all wider than they are tall, formatted for web, Facebook posts, and other uses if you're anything like me.
Pinterest bucks the trend of wide images by using more vertically aligned images. They recommend that images are a 2:3 ratio, around 600 pixels wide and anywhere between 900 and 1,200 tall, and kept within this range for best resolution in Pinterest's feeds, both on desktop and mobile devices.
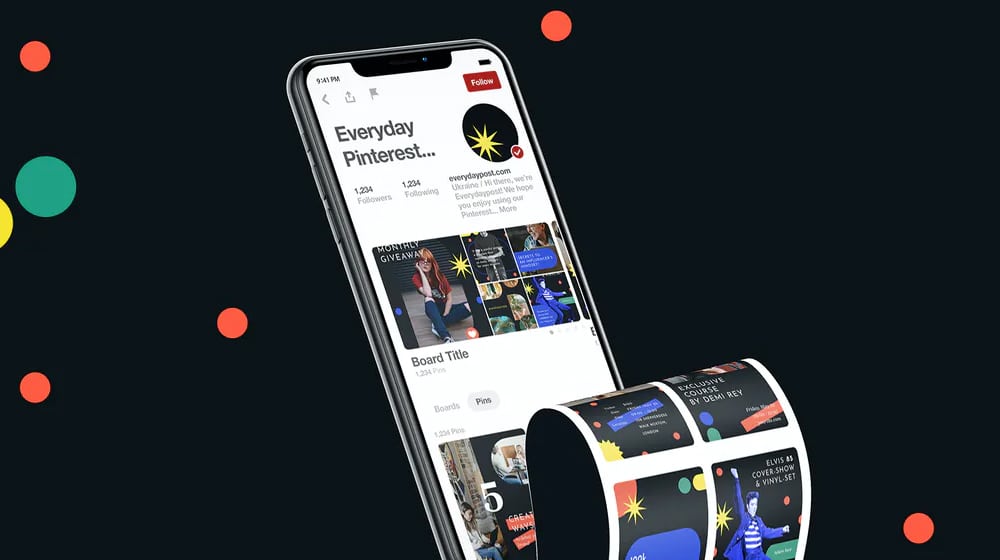
The graphics themselves are where Pinterest gets interesting. Graphic design is a vast world, and you have to figure out images that are:
- Relevant to your topic, both in the general keyword sense and the specific "what this post is about" understanding.
- Far too many people post some text on a pastel background with a border and maybe a faint, mostly transparent image in the back. That won't stand out. It would help if you had something more customized to your content and more eye-catching.
- You want your pins to stand out when someone visits the general Pinterest pin feed. Adding text helps, as do vibrant colors, unique images, and so on. Here's a guide you can browse.
- Every image you make for your content should have your brand logo imprinted on it. It helps with brand awareness, trust me. You might also consider adding other elements to your brandings, like a consistent font choice or color. Everyone knows HubSpot's orange or Mailchimp's yellow, right?
Don't worry if you can't grasp all of this immediately. You can always hire a graphic designer to handle it for you and develop your branding over time. When starting out, you can always create your own images with Photoshop, Canva, or a Canva alternative. Unique images perform far better on Pinterest than stock photos do.
The more you work at Pinterest, the better you'll be able to narrow down the aspects of an image that draw in users.
Install a Pinterest Plugin
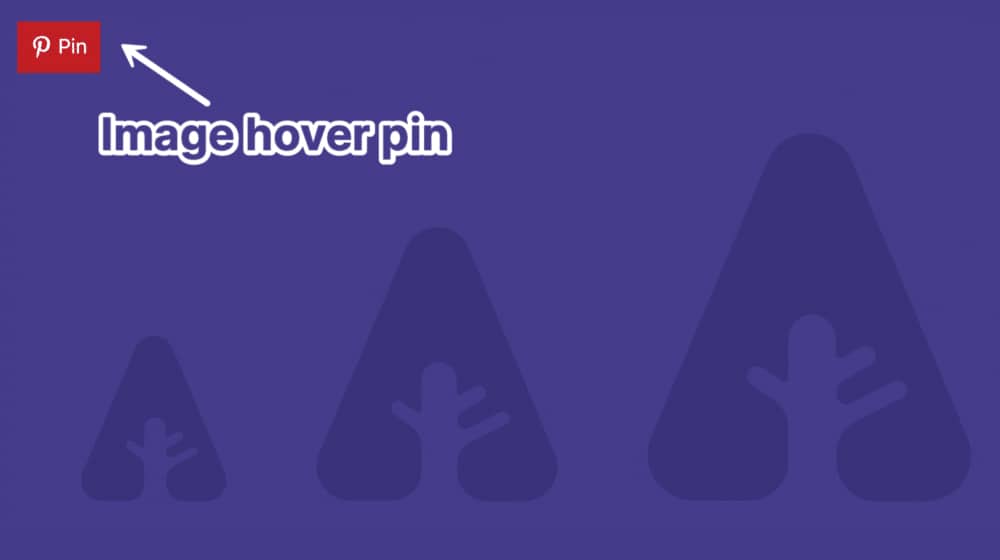
Next up, you want to integrate Pinterest with your blog. The easiest way to do this is to use one of the many plugins available. These are social sharing buttons, except instead of appearing in a tray along the side of the screen, they're buttons that hover over your images. You've seen them before.
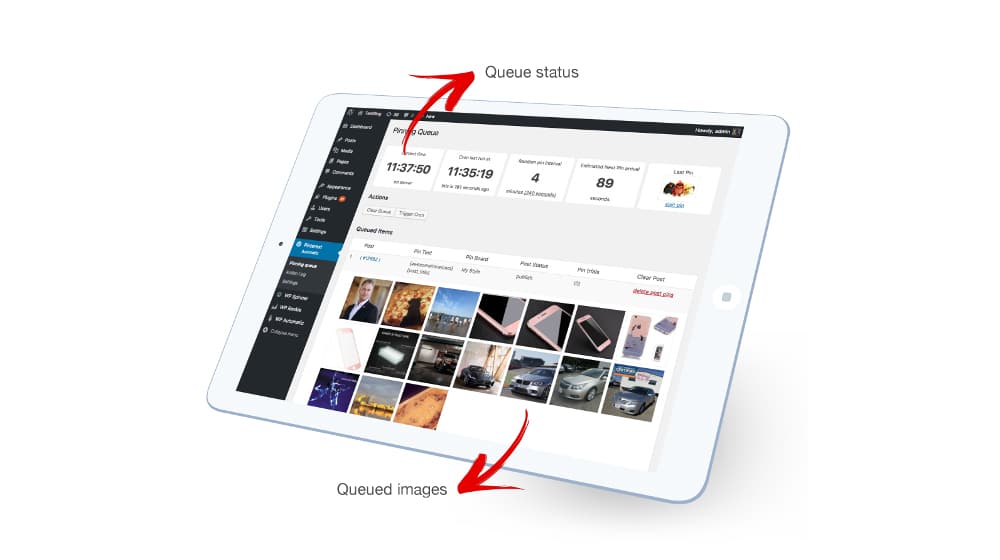
There are quite a few plugins you can choose from, though interestingly enough, Pinterest doesn't seem to have an official plugin. Give one of these a try:
- Social Warfare. My top-recommended social sharing plugin.
- Monarch. One of my favorites; it's expensive but works very well.
- Pinterest Automatic Pin. A plugin that handles your pinning strategy automatically for the ultimate low-effort Pinterest usage.
You can also integrate your Pinterest account with Squarespace or with Shopify with their official integrations. WordPress users can also implement code manually, as seen here.
Get Pinning
Now it's time actually to use Pinterest.
Every time you publish a new blog post, create a new pin to each relevant board. Your main blog feed board and your keyword-focused board, primarily, but you can pin it to as many as you want. I don't recommend pinning it to everything since that dilutes the value of each board. Pin it to the most relevant boards.
While you're at it, start using Pinterest calls to action in your blog. Your call to action and make or break the amount of blog traffic you receive from your posts. Encouraging people to pin your posts helps them show up across the network and gives you more exposure. Just make sure you're configuring your pins properly. The biggest key to this is making sure the top, or one of the top, images in each post is Pinterest-formatted.
You can also take this time to start curating content for your pin boards. All of your keyword-focused boards should be general value, not just your content, to attract people to follow them. So, seek out content relevant to those keywords and pin 10-20 things to seed each board. Try to pin a handful of items to each board every week to keep them all active.
To make this easier, you can use the Pinterest browser extension to pin from a page, rather than having to go to Pinterest every time.
If you're unsure how to handle content curation, I wrote a detailed guide on exactly that. Check it out here.
Use Pinterest Effectively
At this point, it's all about using Pinterest marketing on an ongoing basis. In addition to pinning your new posts and pinning content to keep your boards active, here are some assorted tips.
- Follow relevant bloggers. You follow bloggers surrounding your target audience, and they'll at least check you out and maybe follow you in return. It also gives you a feed you can use to curate for your boards more quickly.
- Join group boards with other Pinners. Group boards are boards run by multiple bloggers, which allow you to pin your content to relevant boards as long as you pin other content from the group to your boards. Again, fuel for your curation, plus more exposure for your content. There are many Pinterest users trying to do the same thing you're doing, and you're stronger together. It helps to be social on social networks and not focused solely on your own pins and your own boards.
- Create and manage group Pinterest boards. Here's a good guide on using and running group boards.
- Use Rich Pins, if possible. Sites that publish specific articles, recipes, or product pages can apply for Rich Pins, which include more information for a pin than average. Here's the Pinterest help center documentation on how to do this. Not everyone can use them, but if you can, they're a huge boon.
- Use a scheduling tool. Some plugins and software can schedule images to be published to Pinterest as soon as you've published new blog posts, such as WP2Social.
From there, it all comes down to the same kinds of advice I have for every social media platform. Keep up with it, keep it active, and engage with users. Make sure you're looking at your Pinterest analytics, see what works and what doesn't, and focus on optimizing and testing your pins over time. If you keep on top of it, you'll have a hugely successful social media presence in a matter of months.
That, my friends, is how you establish a Pinterest strategy as a blogger. So, go at it, have fun, and get pinning.


 30 Second Summary


October 23, 2021
Hey James, great blog. What are your thoughts on Tailwind to help with Pinterest (and Insta) scheduling? Cheers.
October 28, 2021
Hey Mike, thanks for that!
Tailwind works great, we have a handful of clients that use it successfully.
Their "Free" plan allows 20 posts per month which is generous too, if you wanted to try it out.