Tutorial: How to Add Multiple Blogs to a Shopify Store
Have you ever wanted more than one blog feed for your website?
A lot of you probably just shook your heads. Why would you want more than one blog? Isn't running one enough work? There are a few decent reasons why you might want to have more than one blog feed.
Specifically, I'm talking about Shopify today. There are plenty of reasons you might want to run multiple blogs on Shopify. Let's talk about those first.
Why You Might Want Multiple Blogs on Shopify
Some more experienced content marketers might wonder why you would want more than one Shopify blog when you can use something like categories. Well, categories are fine for many things, but when the content you're publishing is wildly different, you might want to be able to run separate feeds for various blogs.
For example:
- A separate feed for news, announcements, and updates. Blogs shouldn't be self-promotional or internally focused, so separating a second "blog" feed for your news and announcement posts allows you to keep them divided. It also helps you avoid issues where you take up a "slot" in your content calendar with an announcement, throwing your blogging schedule into disarray.
- Two distinct, separate audiences. An advertising agency might have a blog explicitly aimed at publishers and another aimed at advertisers, rather than forcing people to comb through the blog looking for relevant content. Likewise, an outsourcing agency might have one for service providers (like writers, graphic designers, and coders) and one for the people looking to hire them.
- Separate media-heavy content from text content. You can have one Shopify blog page for all of your standard blog posts, tutorials, informational posts, etc. Then, you have another for infographics, videos, podcasts, and other media you push, to allow people to choose the kind of media they want to consume.
- Your business is multilingual. Rather than trying to create two separate versions of your site and keep them synced or implement some language toggle in Shopify, you create two independent blogs, one for each language. Then, other parts of your site can use both languages, such as product descriptions and site navigation menus.
These scenarios are good reasons you might want to use a second blog on a Shopify eCommerce store rather than just dividing content via categories. You can even duplicate categories across them.
If you're convinced, read on. First, let's talk about the pitfalls of using multiple blogs on Shopify.
Drawbacks to Using Multiple Shopify Blogs
Perhaps the biggest drawback to running multiple blogs is running multiple blogs. Depending on how you're dividing it, you need to put in more work to grow them and keep them healthy. You need to do everything twice for multilingual posts, with translation in the middle. For divided audiences, you need to make sure both blogs get a constant feed of content; otherwise, you cater more to one side than the other, and the neglected side will fall out of relevance.
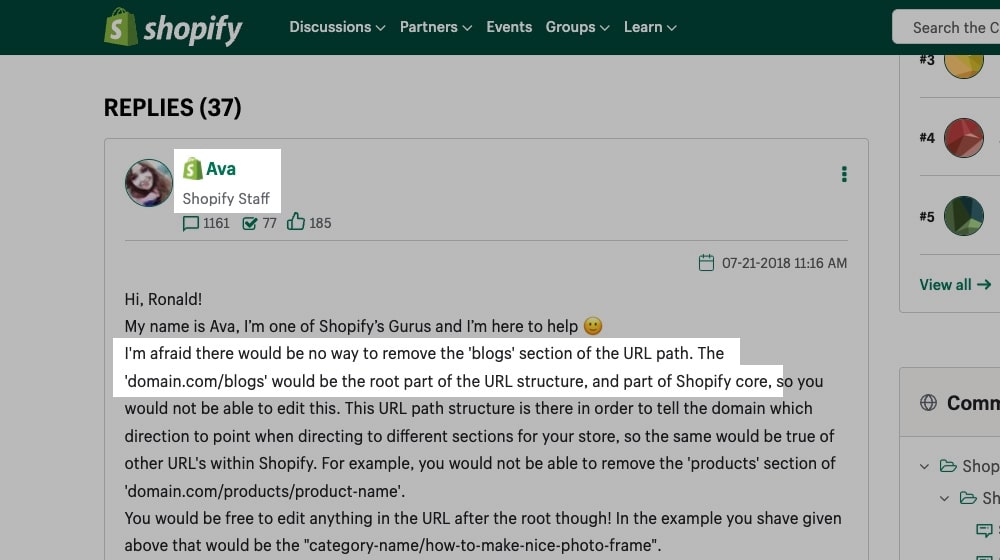
Another issue is URL management, which can get pretty sloppy. You probably won't want to name your blog "blog" because "blogs" is already present in the URL:
domain.com/blogs/blog
This "/blogs" parent folder is part of Shopify's default system and it can't be changed.
Instead, you'll want to name them something descriptive, like "advertisers" and "publishers," or "news" and "articles," or "English" and "español." That way, you'll end up with URLs that look like this:
domain.com/blogs/news/
domain.com/blogs/articles/
It might look messy and redundant, but it's built into the way Shopify works, so it's not something you can change. If you want more flexibility, you'll want to use WordPress instead.
Depending on how you're dividing the blogs, you may want to set up multiple stores, run multiple instances of Google Analytics (one for each blog), or be very careful with implementing UTM tracking to ensure you have separate data and can analyze each blog separately. Or, you can track it all normally and consider it one mega-blog. It's up to you.
How to Implement Multiple Blogs on Shopify
You can do so reasonably quickly if you've determined that you want to run multiple blogs on your Shopify store rather than using categories, separate sites, or another blogging platform. The trouble isn't in the implementation; it's in the details surrounding it. So, let's go through those.
1. Decide on names for your blogs.
As mentioned above, Shopify always includes the /blogs/ parent category in the URL. Even if you only have one blog, it'll be plural.
To start, you need to create names for your two blogs individually. Above, I mentioned a few examples: News, Articles, Announcements, Advertisers, Publishers, or language names. These are all pretty standard options for having multiple blogs.
You can pick something with a keyword, something branded, or just something descriptive. It doesn't matter what you choose to name your blog; the specific name won't impact your SEO or your ability to market the blog unless it's wildly out of context or nonsensical. The key is to deliberately pick something that carries meaning for the divide between blogs.
2. Change your default blog's name, if necessary.
As a side note, you may have already named your primary blog and even been operating it for a while. Unfortunately, you may need to change it depending on what you've called it. For example, if you named it "blog," you would have domain.com/blogs/blog, which looks like an error and doesn't allow for descriptive divides between blogs.
Here comes the tricky part: if your site is already established, changing the URL of your blog can be disruptive. Since your SEO value is attached to your URL, you'll need to implement proper redirects to move from your old blog URL to your new URL. Shopify allows you to implement 301 redirects properly; it's just a bit of a pain to do it for your whole blog. Still, this is a crucial step, and you don't want any of your old URLs showing up as "Not Found" to visitors, or it can hurt your SEO.
If you can avoid changing your URL, by all means, do so.
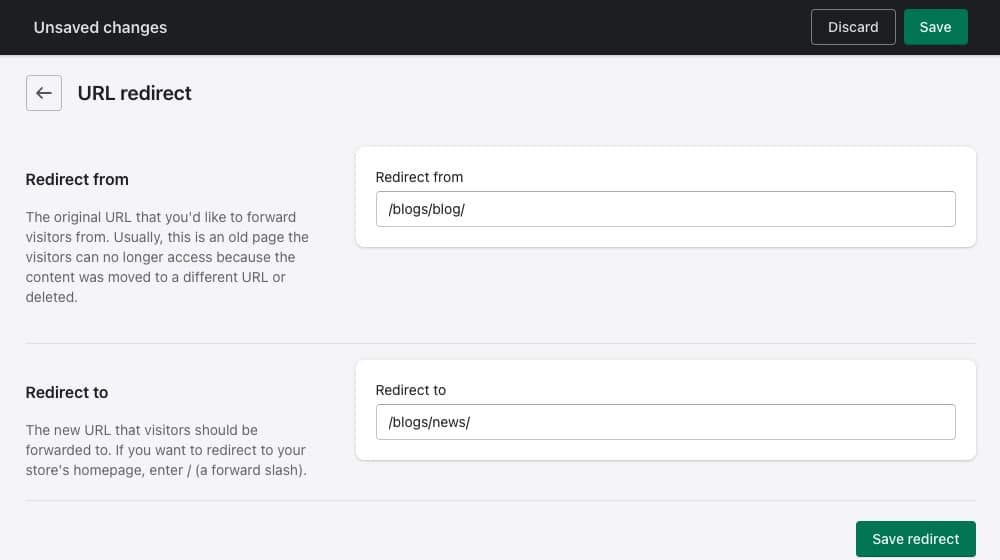
If you have to change it to make a second blog make sense, then make sure that you implement redirects.
If you're changing your first blog's name, make sure to do so throughout your site. You'll want to update that link on every page where it is mentioned; your dropdown menus, footer navigation, sidebar, etc.
Here's a question for you: are your blogs going to be visually distinct? Are there going to be significant differences between them?
If they're going to look the same and have content published by the same author, it doesn't make a ton of sense to divide them up anyway. Categories might work better and are less disruptive and more granular.
In particular, I might recommend using a second author profile, depending on the situation. For example, if you're publishing content on an advertiser blog, you might want the person posting that content to be building a reputation as a prominent advertising expert. Conversely, maybe you want a secondary profile to be a publishing expert for the other blog. Of course, the two sides of the coin are closely related enough that you can lump it all under one author as well.
I might recommend using separate author profiles, both representing the same person, in the case of multilingual blogs. You can create blog posts in a non-English language, and the author's bio can also be in that language.
Again, is it necessary? Maybe not. Would it add detail and accessibility to your blog or give you additional benefits for the second blog? Maybe. It's up to you if you want to implement it.
4. Develop a sustainable content plan.
Once you've created more than one blog, you need to maintain a content production pipeline and publication schedule that keeps both blogs up to date in almost every situation. You don't want to neglect one blog in favor of the other because then the neglected blog becomes outdated, vestigial, and eventually worthless.
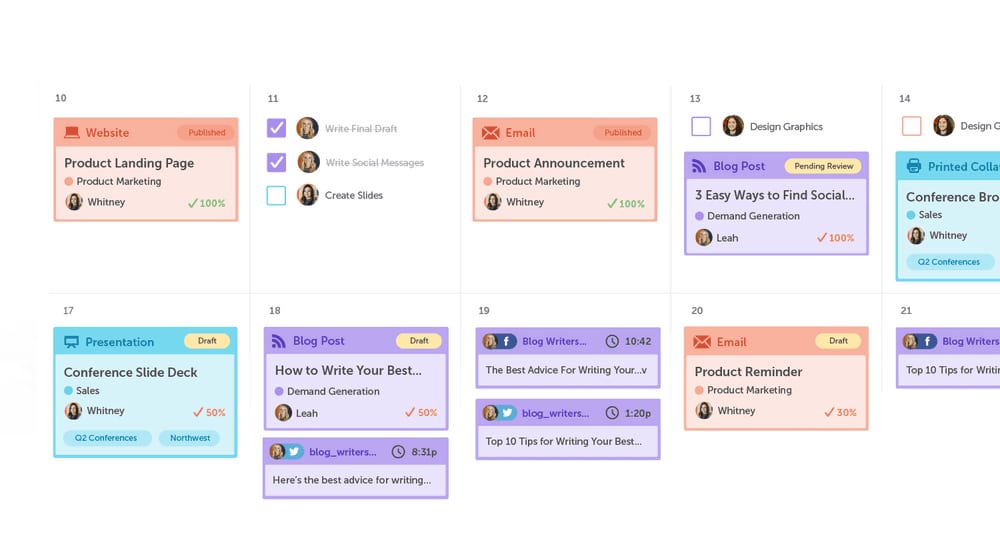
The only time you wouldn't need to maintain constant publications in a second blog is if that second blog is for a specific kind of sporadic media. The "news and updates" second blog or the "infographics and videos" type of the second blog fall into this category. You don't need to keep those updated weekly like your primary blog. You will, however, want to keep them updated at least monthly; otherwise, they feel useless.
5. Implement your second blog.
Once you've laid the groundwork and are ready to start your second blog, you need to create it.
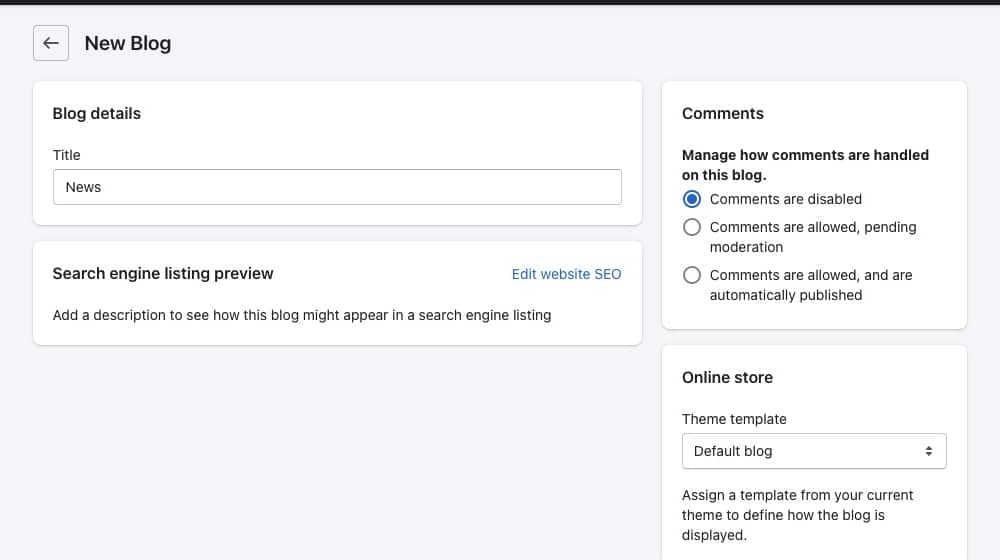
Luckily, adding a second blog is pretty easy.
- Log into your Shopify store dashboard.
- Click on Online Store for the store you're managing.
- Click on Blog Posts to go to the blog manager screen.
- In the upper right corner, click the Manage Blogs button.
- Look for the green "Add Blog" button in the upper-right and click it.
- Create your second blog and give it the name you decided on above.
At this point, you can also start choosing more details for your blog. For example, you might not want to have comments enabled on your new blog. Blog comments are great for regular blog posts but may be less relevant for company announcements. Moreover, you can choose a different theme for your second blog, though you may need to have a second theme installed.
Once you have your second blog created, you need to add it to your navigation header.
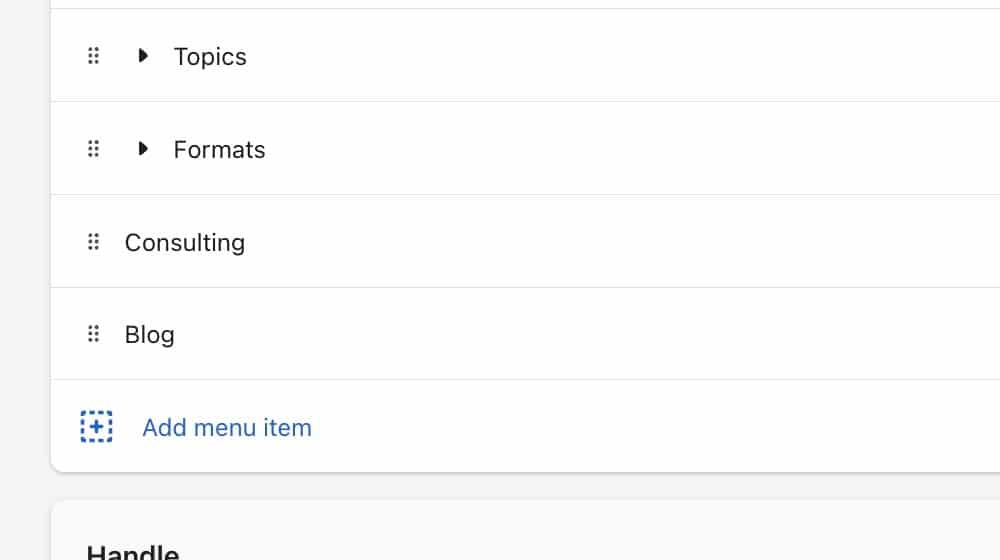
You should be pretty familiar with doing this by now, but if not, here are instructions:
- Click on Online Store.
- Click on Navigation.
- Click to Add Menu Item.
- Choose a name for the link.
- Specify the destination. Note that the "blogs" link type will lead to your primary blog, so you'll need to use a specific URL for the secondary blog.
- Position the menu item where you want it (as the primary link or a sub-menu link)
- Save your changes.
That's it; you're done.
Final Thoughts
All that's left is keeping both of your blogs up to date. You may want to make an announcement, either on your blog itself or on your social media, to promote the existence of your new blog. It depends on the reason you're creating that second blog.
You can also consider adding a link to the top of new blog posts that links to the new blog. For example, every English-language blog post could have a "to read this post in Spanish, click here" link to the Spanish version of your blog. These kinds of details help keep both blogs active and relevant.
I wrote a few articles on great Shopify apps here:
What do you think? Are you going to add a second blog to your Shopify eCommerce website now? Please share with us in the comments below!





August 16, 2022
My team and I have been debating over adding a new blog. This is a great read and I'll send this to them.
August 22, 2022
Thanks Seb! Good luck 🙂