How to Allow WordPress Users to Revise Published Blog Posts
Written by 

Most bloggers get their start as one-person operations. Later, they might get to work with other people, like hiring someone to handle graphics, working with someone to convert ideas and content briefs into content, or even just having multiple authors collaborating on posts for the blog.
WordPress is great for all of this. It's perfectly functional for solo operations, but it can really shine with collaboration. WordPress has built-in user management and permission systems, and of course, there are a ton of plugins that can help add and tweak those systems as well.
One of the realities of running a blog is that posts will occasionally need editing. Sometimes, it's as simple as fixing a typo or changing a brand name when that brand rebrands. Other times, you want to refresh some of the information in a post, add or remove links, or reorganize a passage. Sometimes, you want to do more complete overhauls of your content.
What you need is some way for your contributors to edit posts, but without opening yourself up to abuse or risk.
- What if you let a contributor go, and they vandalize your blog on the way out?
- What if someone makes edits and changes you don't endorse on your site?
- What if someone's account is compromised and a malicious actor can access it?
These kinds of issues can be significant, but fortunately, there are ways you can manage the risk. It's slightly more complicated than you might think, though.
 30 Second Summary
 30 Second Summary
You can let other people edit your blog posts in WordPress by setting up the right permissions. While default WordPress roles don't fit perfectly, you have several options to make it work. You can use plugins like Revision Manager TMC to let contributors suggest edits that need your approval. You'll get email alerts when changes are suggested. You can also create custom roles or use code snippets to give specific editing powers to different users. Just make sure you protect your site by controlling who can make final changes.
Determine Permission Levels
The first thing you want to do is decide what kind of permission levels you want.

I'll give you a spoiler here: chances are, the default WordPress roles and permissions aren't going to do what you want to accomplish. It's worth discussing them, though.
WordPress Default Roles and Permissions
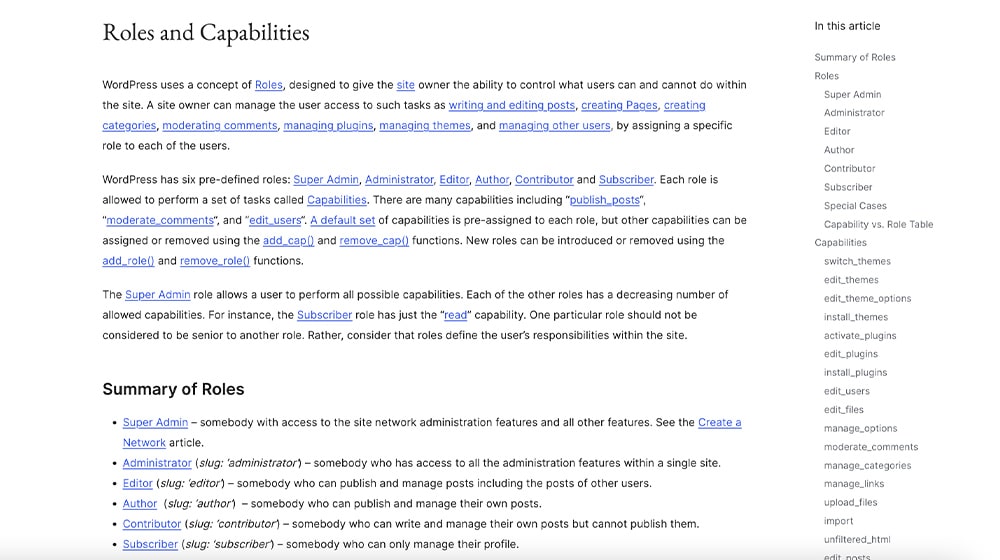
WordPress, by default, has six roles with escalating permissions. They are:
- Subscriber. This role can do nothing other than read content on the site.
- Contributor. This role can read posts, edit posts, and delete posts.
- Author. This role can do the above, plus upload files, edit published posts, and delete published posts.
- Editor. This role can do the above and can also access private posts and pages, edit and delete pages, moderate comments, manage categories and links, and generally do anything with content on the site.
- Administrator. This role can do anything at all on a given WordPress site.
- Super Admin. This role can do anything on a network of WordPress multisites.
If you want a complete view of the specific capabilities and function calls in WordPress for each role, you can find them in the documentation here. As you can see, there's a pretty big jump between contributor and author and between author and editor.
The issue is, what role do you pick if you want someone who can edit posts but can't publish new posts, delete posts, or mess with anything else on the site? Any role with less permissions than Editor can't edit posts from other people. Editors have too much unfettered power.
You could, I suppose, create a contributor account and then add it as a contributor on all of your existing content, but that's going to be a large and annoying retrofit and still has potentially too much access since it can delete posts it has access to.
This is assuming, of course, that you want that specific level of permissions, or any specific level of permissions other than what the default roles allow.
That's why you have to decide what your would-be revisionist should be able to do. Do you want them to be able to edit any post? What about pages? Should they be able to upload new images or other files? Should they be able to contribute new content on their own while being able to edit anyone else's?
Decide on an Approval Queue
Another choice you need to make is whether or not you want your revisionist to be able to publish their edits, or if you want them to be held in an approval queue for you (or whoever you appoint as an admin) to approve.
Remember that a revision to a post can be extensive. Even if you don't allow your revisionist the ability to delete posts, if they "revise" a post to be blank, that's almost as bad. An approval queue can be a good idea, even if you aren't worried about malicious attacks on your blog. Seeing what a user is putting into your pages and having tight control over your content is pretty important. But, at the end of the day, it depends on who you have in the role and how much you trust them to do what they're supposed to, including keeping their account secure.
There are a bunch of different options to create a revision-focused user account in your WordPress blog, so let's go over some of the best.
Adding Revision Capabilities with Revision Manager TMC
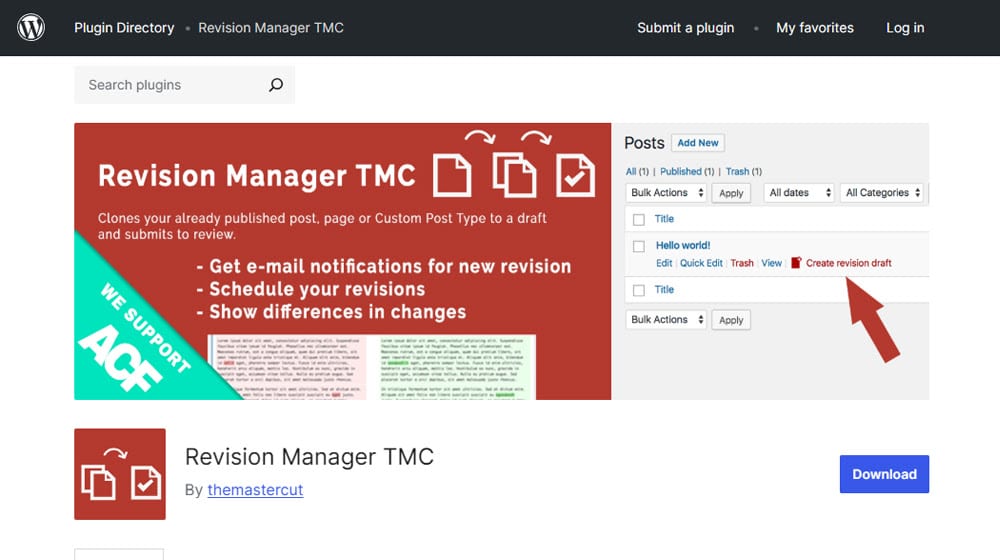
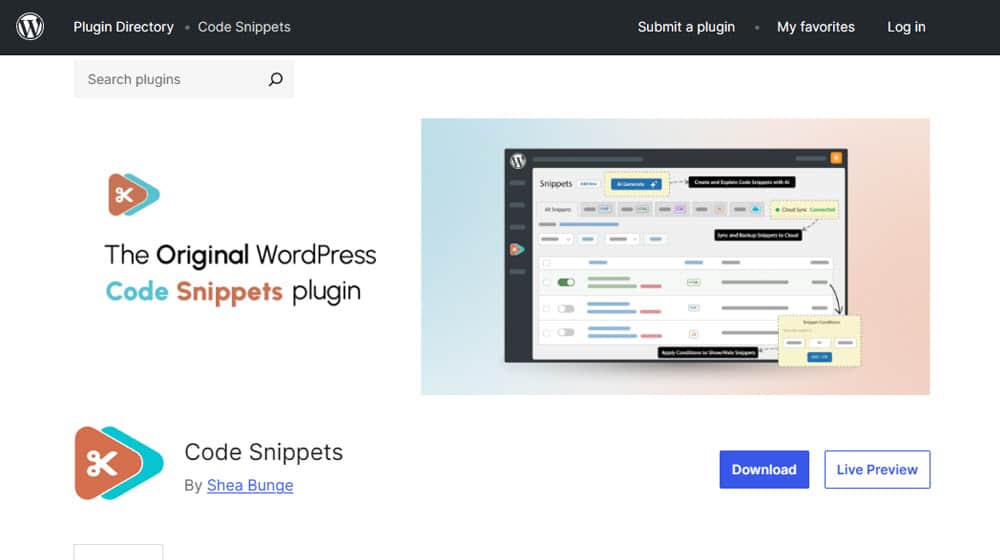
First of all, one of the easiest options is to use the Revision Manager TMC plugin.
Revision Manager TMC is fairly simple, lightweight, and effective at doing the exact thing I've discussed above: allowing specific users the ability to revise posts that were written by anyone, submit the revision for approval, and even send email notifications to the admin when revisions have been submitted. It has a free version and a pro version, but the free version is probably all you'll need for a basic WordPress blog.
How do you use it?
Step 1: Install the plugin. Whether you go to the link above and install it from there, or use the plugin search from your admin dashboard, is up to you.
Step 2: Configure the basic capabilities of the plugin. You'll be locked to just posts with the free version of the plugin, but the pro version can use the same system to edit pages and other types of content on the site if you want.
Under general settings, you'll see three drop-downs.
- Copy Creation Capability: Make sure this is set to edit_posts.
- Acceptation Capability: Make sure this is set to publish_posts.
- Role for Notification: Set this to whatever role you want to receive emails when a new revision is submitted.
These settings are the specific functions found in the Contributor WordPress role, so they give any account with Contributor or higher access the ability to create and submit revisions. If you use custom roles or if you want to set it to a different role, you can choose any of the PHP functions available for these drop-downs, but the two I've recommended are the easiest.
The other critical setting is "Merge date with revision." This lets you choose whether to update the post publication date to the revision date, or keep the original publication date. There are pros and cons to both options, which I discuss in this post.
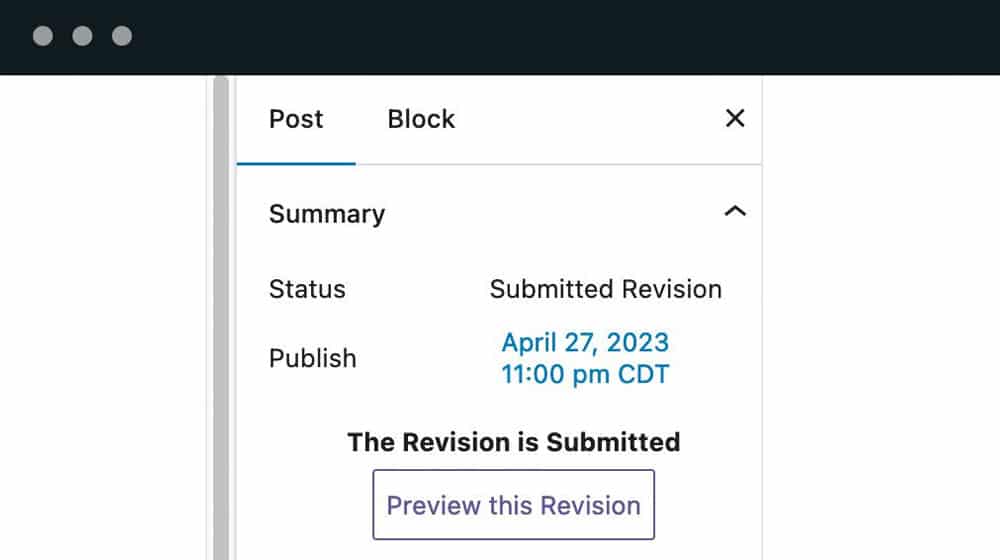
Step 3: Get revising. The way Revision Manager works is by adding a new link in your Posts list for Contributor and above accounts, which says "Create revision draft." When you click this, the plugin creates a clone copy of the post, which can then be edited and revised. Once done, the contributor can click to submit the revision for review, and the admin will get an email about it.
What does the Pro version of Revision Manager TMC add? Surprisingly little that matters for most people! It's a standard license for full Pro access and a year of updates, so you can use it indefinitely but need to pay occasionally for updates if it falls too far out of date. For the money, you get customizable admin email notifications, support for things like Advanced Custom Fields and page builders, and the ability to use it to revise Pages and custom post types.
It's $39 for one site, $99 for ten sites, and $199 for 50 sites. Personally, unless you make heavy use of custom post types, I don't think it's necessary to go for the pro version, but it's your choice.
Adding Revision Capabilities with Other Plugins
I've found that Revision Manager TMC is one of the simplest options, and it's kept up to date, so it's a good choice. But, if you don't like something about how it works, there are other options you can use instead.
First up is PublishPress Capabilities. This is just about the opposite of Revision Manager TMC in that it's fairly heavy and can do a lot more. It's largely focused on managing user roles and permissions, and it has a lot of micro-controls, like the ability to decide what blocks can be viewed in the block editor, what a user can add to their profile, and even what admins can see.
It has a ton of features and support for WooCommerce, Multisite, and more. I think it's overkill for just adding a user role for revisions, but if you want to do a bunch of customization for a large site with a lot of varied users, it's a great option.
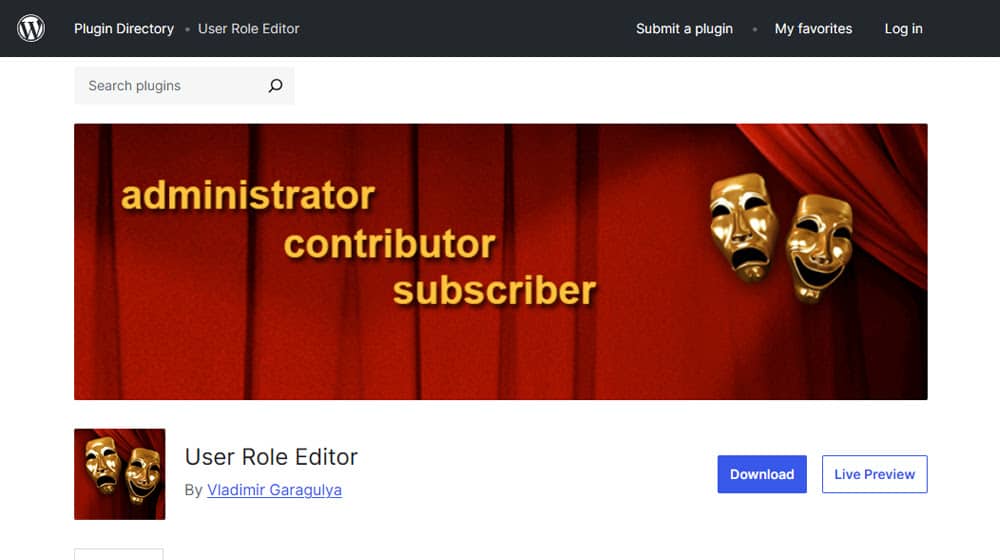
Another option is User Role Editor. This is a simple plugin that lets you add and remove capabilities from existing roles, and create new custom roles with custom sets of permissions. This is probably the easiest way to accomplish what I've written about today. It doesn't notify admins of revisions or put them in an approval queue, though, since that requires extra functionality beyond just having a role with the edit capability.
It has a pro version too, with a bunch of added features centered around editing what admins can see and setting things up for multisites. The one downside is just that it doesn't sugarcoat anything; it's a lot of trees and function names, and if you don't know what they mean, it can be confusing.
Adding Revision Capabilities with Custom Code Snippets
If you don't want to use a plugin, it's actually fairly easy to set up basic added functionality to a role. You can edit your functions.php directly (not recommended), or you can use a code snippet plugin like WP Code or Code Snippets.
Why use a plugin to add code if you're going to add code manually? Why not just add another plugin? Well, as you'll see in a moment, it seems kind of ridiculous to add a whole new plugin just for two or three lines of code. A generic code snippet plugin can allow you to add more code for other purposes down the line without another new plugin.
As for why you don't want to edit your functions.php file directly, there are three reasons.
- If you mess something up, you can break your whole site until you fix it. No one wants to deal with downtime because they missed a semicolon somewhere, right?
- You have to make sure to manage backups of your functions.php file specifically. Good backup policies should be in place anyway, but this is especially important.
- Whenever your theme updates, it will overwrite your functions.php file and remove your custom code. Repeating the same work over and over is really, really annoying, even if you "only" have to do it once a year.
A code snippets plugin avoids all of this.
Whichever plugin you use, all you need to do is find whichever menu it uses to inject code into functions.php and add two lines of code:
$obj_existing_role = get_role( 'contributor' );
$obj_existing_role->add_cap( 'edit_published_posts' );
The first line specifies which user role you're editing. You can edit the Contributor role as above or edit the capabilities of another role, even the subscriber role. Alternatively, you can add a new custom role, but that requires more detailed code, as seen in this post. I find it generally easier to use a role editor plugin instead if that's what you want to do.
The second line simply adds the capability "edit published posts" to the selected role. You can add other capabilities too, as long as you know the php function to call for it.
Save and insert the code, and you're good to go. Just test it and make sure it works!
Hi, I'm James Parsons! I founded Content Powered, a content marketing agency where I partner with businesses to help them grow through strategic content. With nearly twenty years of SEO and content marketing experience, I've had the joy of helping companies connect with their audiences in meaningful ways. I started my journey by building and growing several successful eCommerce companies solely through content marketing, and I love to share what I've learned along the way. You'll find my thoughts and insights in publications like Search Engine Watch, Search Engine Journal, Forbes, Entrepreneur, and Inc, among others. I've been fortunate to work with wonderful clients ranging from growing businesses to Fortune 500 companies like eBay and Expedia, and helping them shape their content strategies. My focus is on creating optimized content that resonates and converts. I'd love to connect – the best way to contact me is by scheduling a call or by email.
Comments